Container 위젯은 자식을 1개를 갖는 위젯입니다.
import 'package:flutter/material.dart';

void main() => runApp(SnowDeerExample());

class SnowDeerExample extends StatelessWidget {
  static const title = 'SnowDeer\'s Container Example';

  @override
  Widget build(BuildContext context) {
    return MaterialApp(
        title: title,
        debugShowCheckedModeBanner: false,
        home: Scaffold(
            appBar: AppBar(title: Text(title)),
            body: Column(
                crossAxisAlignment: CrossAxisAlignment.center,
                children: [
                  Container(
                    child: Text('첫 번째 Container'),
                    color: Colors.yellow,
                  ),
                  Container(
                    child: Text('두 번째 Container with padding(EdgeInsets.only)'),
                    padding: EdgeInsets.only(
                        left: 12, top: 12, bottom: 12, right: 12),
                    color: Colors.blueGrey,
                  ),
                  Container(
                    child: Text(
                        '세 번째 Container with padding(EdgeInsets.symmetric)'),
                    padding: EdgeInsets.symmetric(vertical: 12, horizontal: 20),
                    color: Colors.deepOrange,
                  ),
                  Container(
                    child: Text(
                        '네 번째 Container with margin(EdgeInsets.symmetric)'),
                    margin: EdgeInsets.symmetric(vertical: 12, horizontal: 20),
                    color: Colors.cyan,
                  ),
                ])));
  }
}
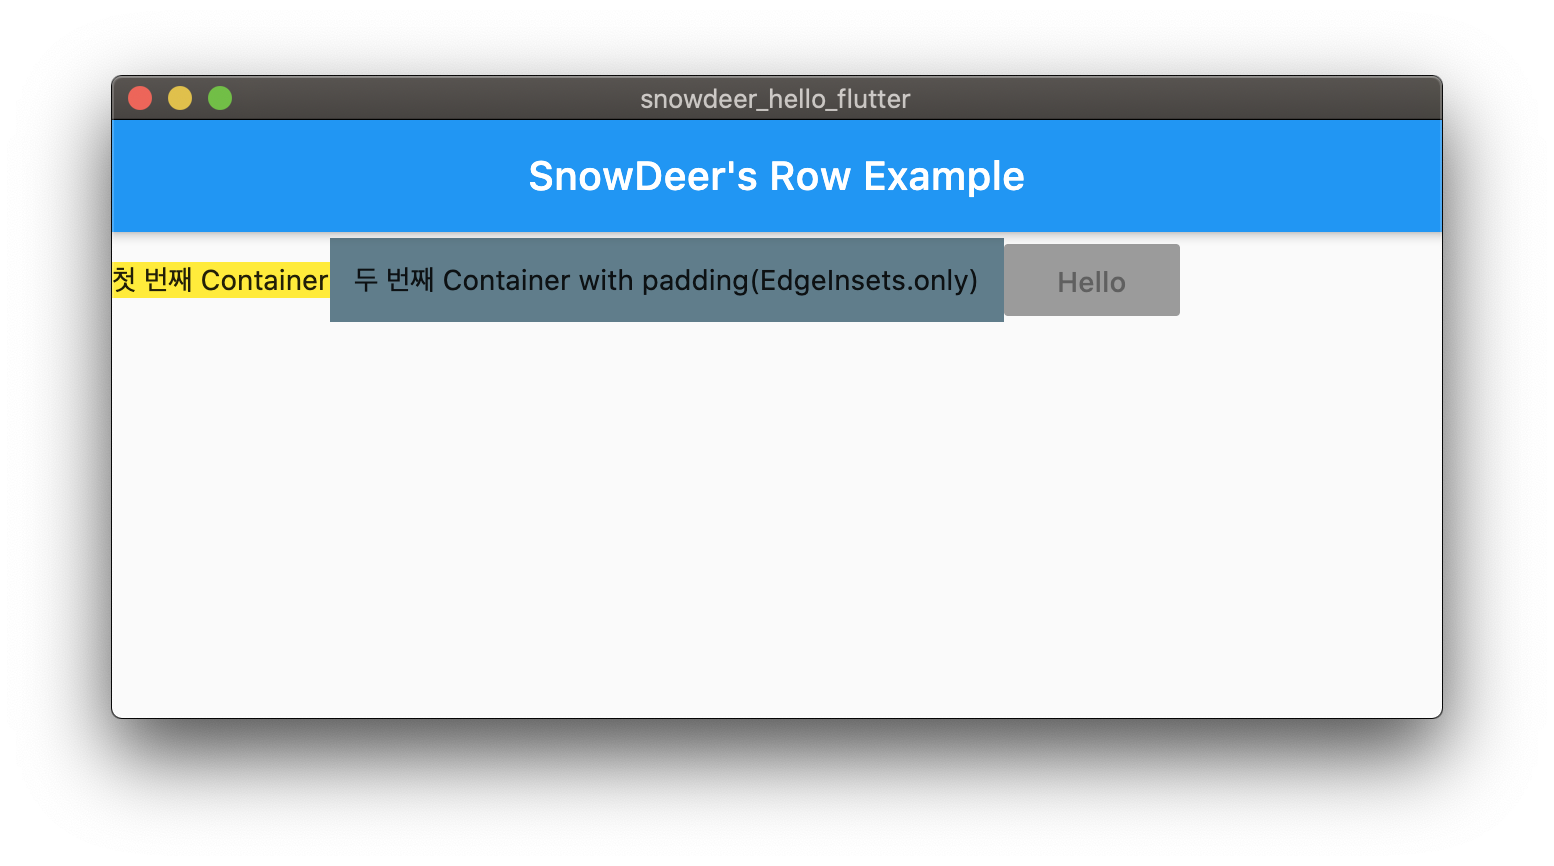
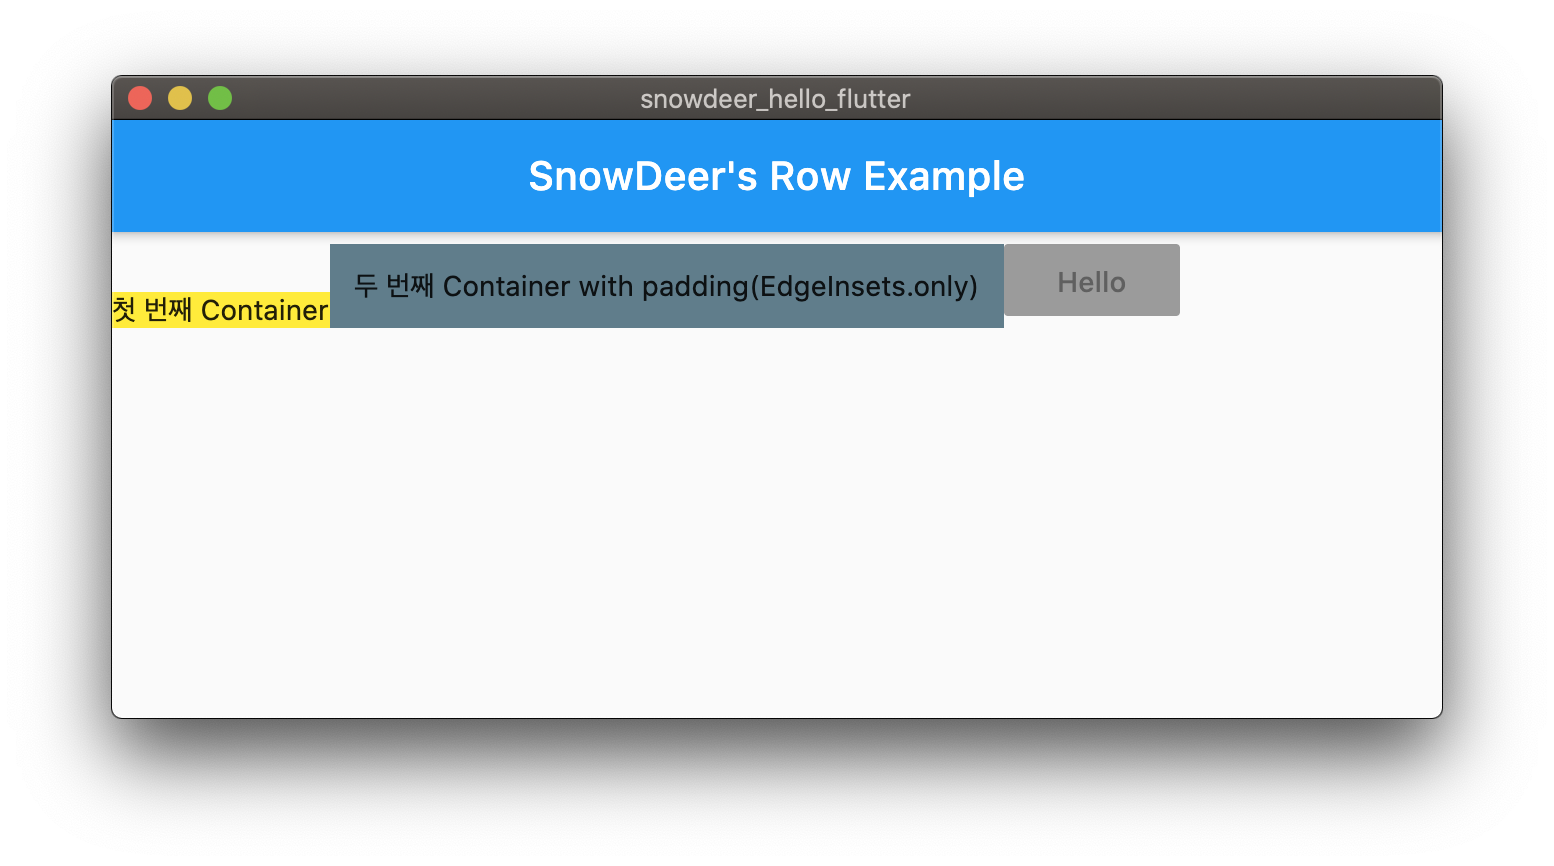
Row 위젯은 자식 위젯들을 가로로 배치할 때 사용합니다.
반대로 Column은 자식 위젯들을 세로로 배치할 때 사용합니다.
import 'package:flutter/material.dart';

void main() => runApp(SnowDeerExample());

class SnowDeerExample extends StatelessWidget {
  static const title = 'SnowDeer\'s Row Example';

  @override
  Widget build(BuildContext context) {
    return MaterialApp(
        title: title,
        debugShowCheckedModeBanner: false,
        home: Scaffold(
            appBar: AppBar(title: Text(title)),
            body: Row(
                crossAxisAlignment: CrossAxisAlignment.center,
                mainAxisAlignment: MainAxisAlignment.center,
                children: [
                  Container(
                    child: Text('첫 번째 Container'),
                    color: Colors.yellow,
                  ),
                  Container(
                    child: Text('두 번째 Container with padding(EdgeInsets.only)'),
                    padding: EdgeInsets.only(
                        left: 12, top: 12, bottom: 12, right: 12),
                    color: Colors.blueGrey,
                  ),
                  RaisedButton(
                    child: Text('Hello'),
                  )
                ])));
  }
}
Row나 Column은 레이아웃 위젯이다보니 중요한 속성들이 있습니다.
mainAxisAlignment는 현재 속성의 축(axis)을 기준으로 정렬을 하는 옵션입니다.
현재 레이아웃이 Row이면, 가로 방향을 의미하기 때문에 좌/우 정렬값을 의미합니다.
MainAxisAlignment.start, MainAxisAlignment.center 등의 값을 가질 수 있습니다.
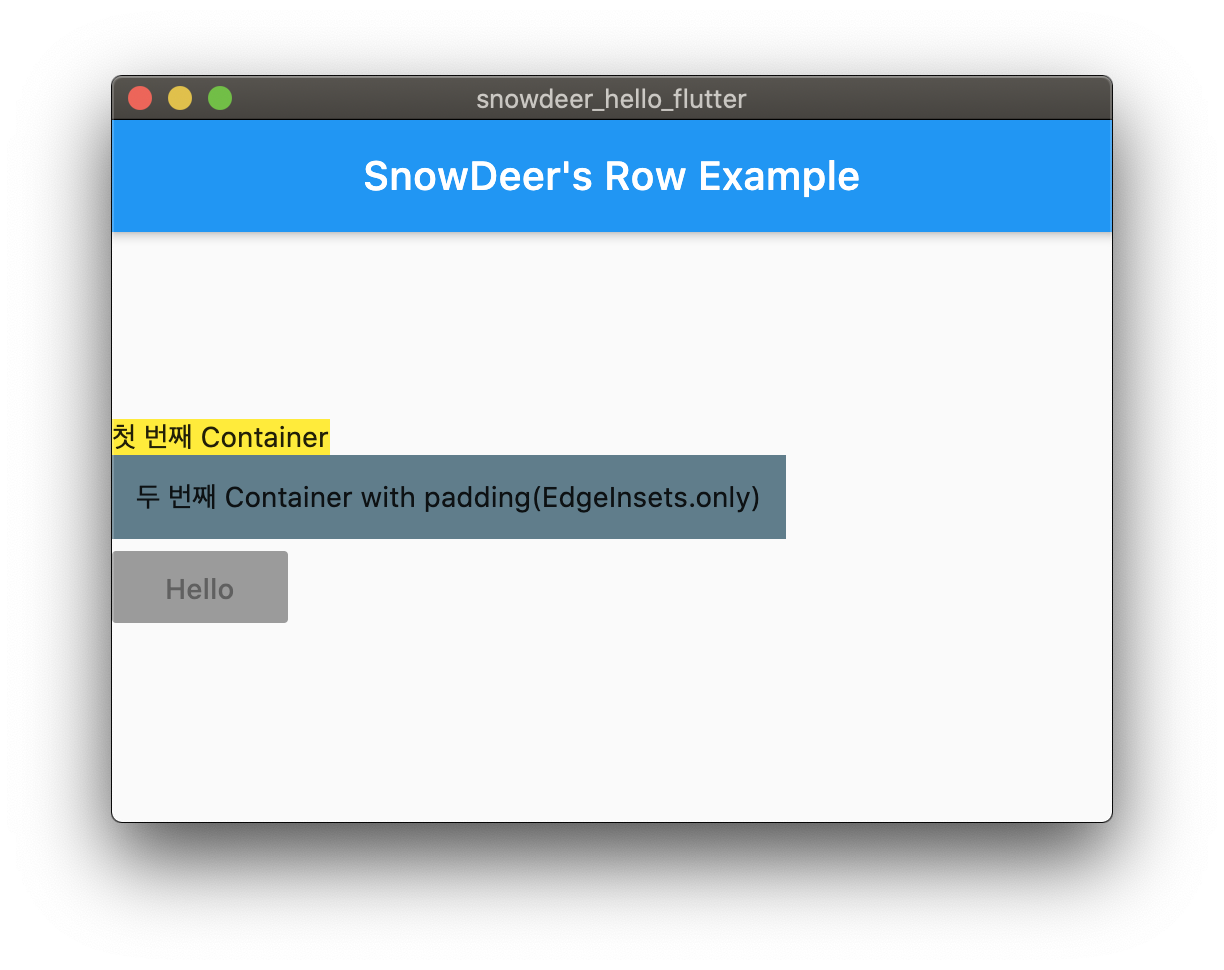
crossAxisAlignment는 현재 속성의 반대 방향으로 정렬을 의미합니다.
예를 들어 아래 속성이면 다음 그림과 같이 위젯이 배치됩니다.
  body: Column(
    mainAxisAlignment: MainAxisAlignment.start,
    crossAxisAlignment: CrossAxisAlignment.end,
    ...
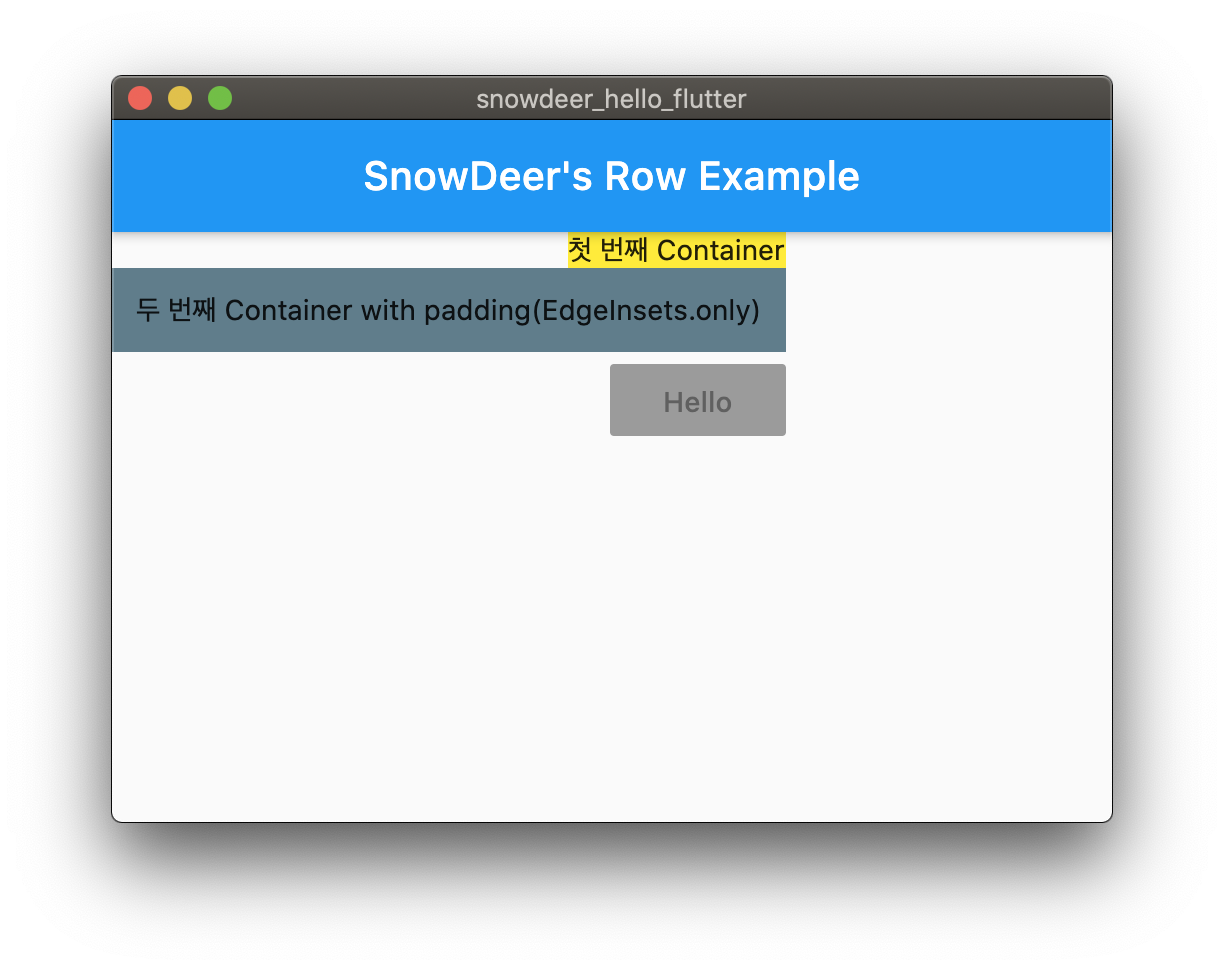
  body: Column(
    mainAxisAlignment: MainAxisAlignment.center,
    crossAxisAlignment: CrossAxisAlignment.start,
    ...
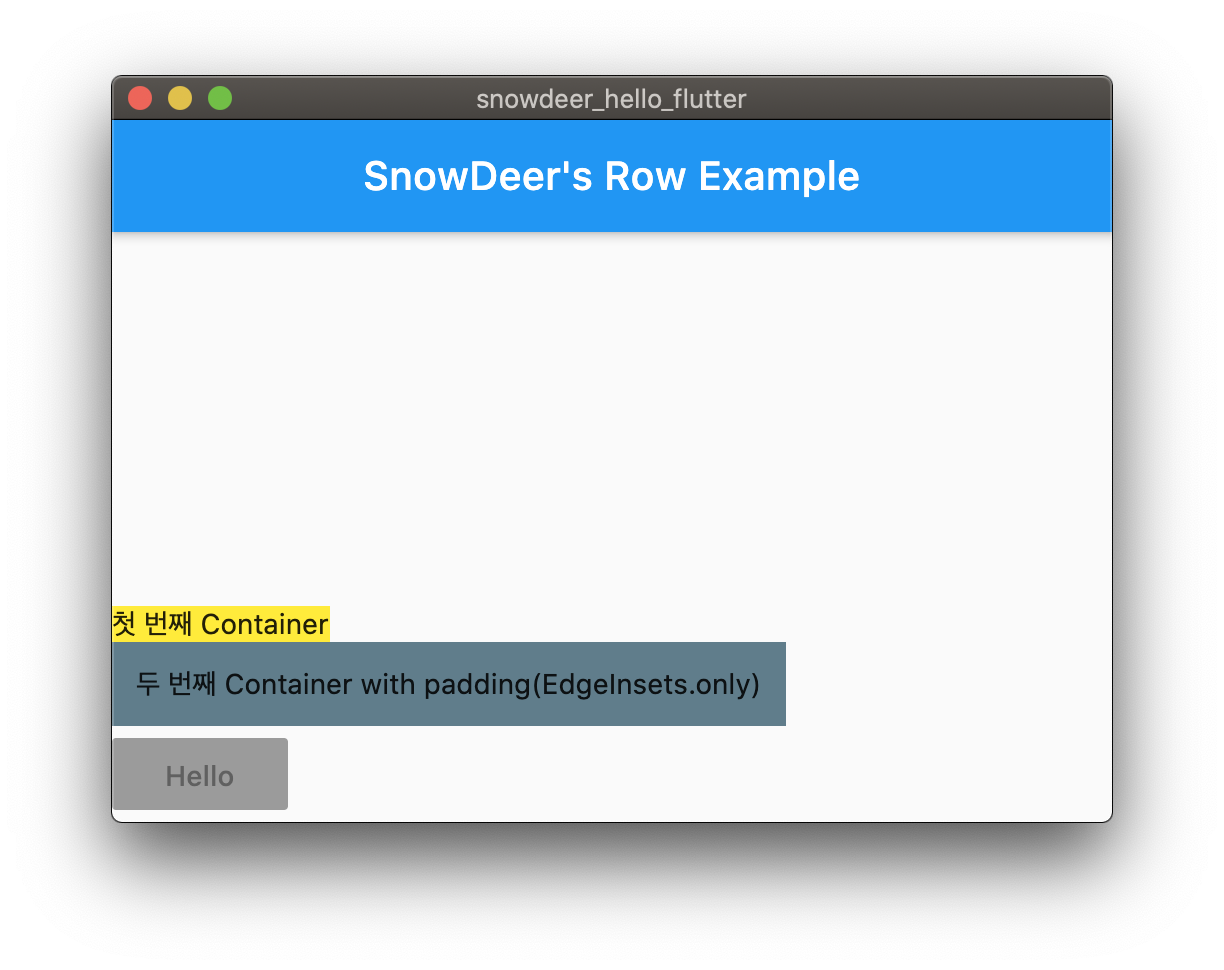
  body: Column(
    mainAxisAlignment: MainAxisAlignment.end,
    crossAxisAlignment: CrossAxisAlignment.start,
    ...
  body: Row(
    mainAxisAlignment: MainAxisAlignment.start,
    crossAxisAlignment: CrossAxisAlignment.end,
    ...
  body: Row(
    mainAxisAlignment: MainAxisAlignment.start,
    crossAxisAlignment: CrossAxisAlignment.center,
    ...