Pixi.js 간단한 예제 (with Vue) - (1)
15 Apr 2022 | javascript html5Vue.js에서 Pixi.js를 사용하는 간단한 예제
Vue.js에서 Pixi.js를 사용하는 방법은 크게 다음과 같은 3가지 방식이 있습니다.
- HTML canvas 요소를 정의하고 그 위에 Pixi를 구동하는 방법
- HTML body 요소에 Pixi를 직접 삽입하는 방법
- HTML div 요소에 Pixi를 직접 삽입하는 방법
HTML canvas 위에서 Pixi 구동하는 방법
미리 canvas를 html로 정의하고 그 위에 Pixi를 구동하는 방법입니다.
<template>
  <div id="container">
    <canvas id="pixi-canvas"></canvas>
  </div>
</template>

<script>
import * as PIXI from "pixi.js";
import { onMounted } from "@vue/runtime-core";

export default {
  setup() {
    onMounted(() => {
      const app = createPixiApp();

      draw(app);
    });

    const createPixiApp = () => {
      var canvas = document.getElementById("pixi-canvas");
      console.log(`window size(${window.innerWidth}, ${window.innerHeight})`);
      console.log(`canvas size(${canvas.width}, ${canvas.height})`);

      const app = new PIXI.Application({
        width: window.innerWidth,
        height: window.innerHeight,
        antialias: true,
        backgroundAlpha: true,
        view: canvas,
      });

      return app;
    };

    const draw = (app) => {
      const graphics = new PIXI.Graphics();
      graphics.lineStyle(8, 0x008080);
      graphics.moveTo(0, 250);
      graphics.lineTo(800, 500);
      app.stage.addChild(graphics);

      const sprite = PIXI.Sprite.from(require("@/assets/sample.png"));
      app.stage.addChild(sprite);

      let elapsed = 0.0;
      app.ticker.add((delta) => {
        elapsed += delta;
        sprite.x = 100.0 + Math.cos(elapsed / 50.0) * 100.0;
      });
    };

    return {
      draw,
    };
  },
};
</script>

<style scoped>
#container {
  display: block;
  background: white;
  padding: 20px;
}

#pixi-canvas {
  width: 80vw;
  height: 80vh;
}
</style>
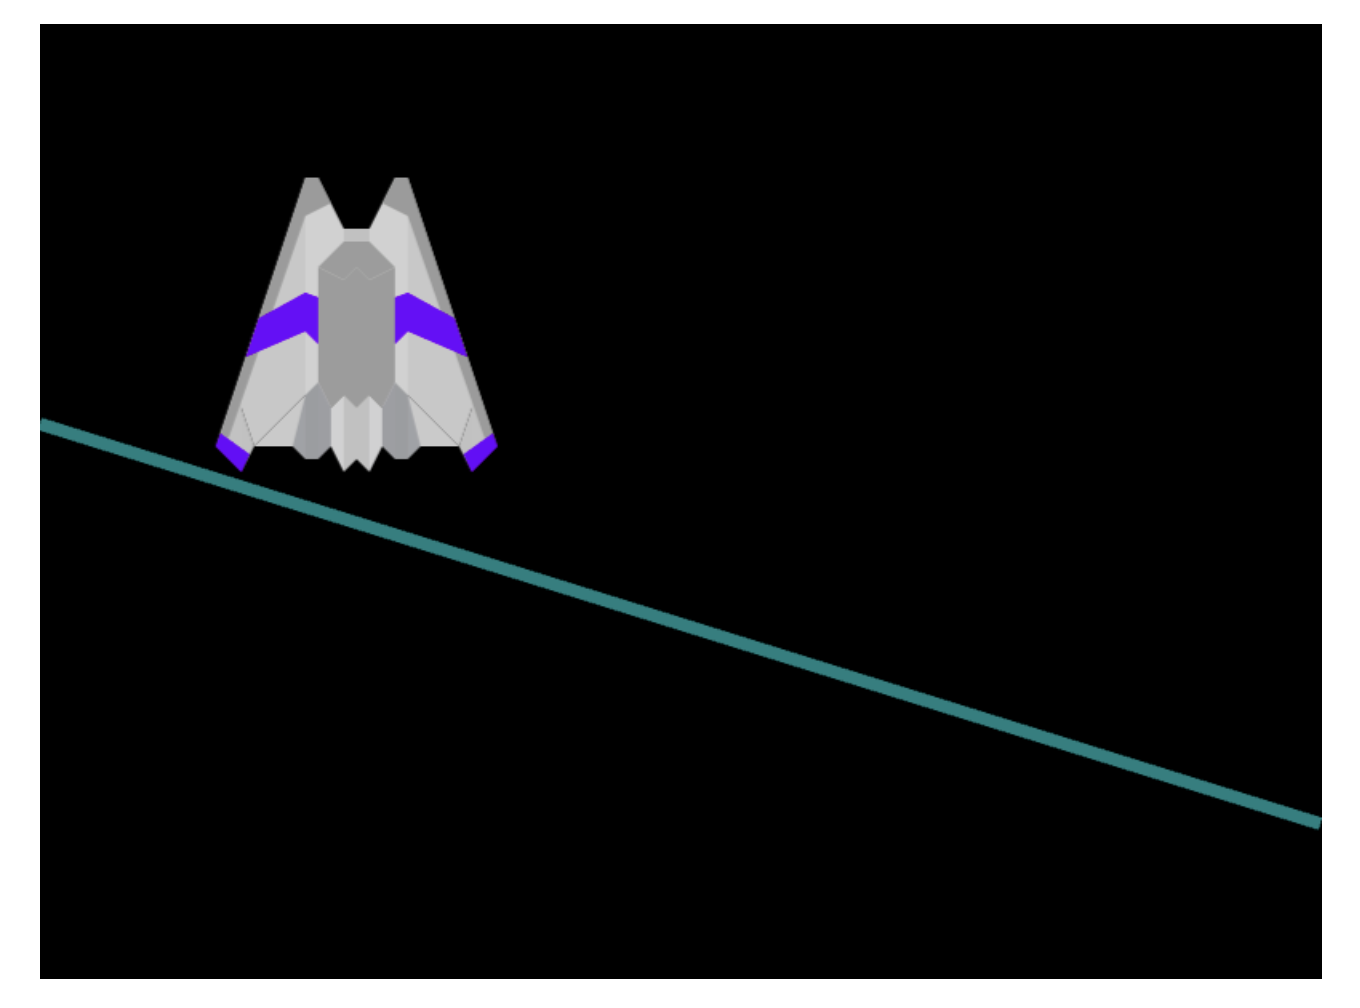
실행 화면
Pixi 내에서 Canvas 정의해서 HTML 문서의 Body에 추가하는 방법
<template>
  <div id="pixi-container"></div>
</template>

<script>
import * as PIXI from "pixi.js";
import { onMounted } from "@vue/runtime-core";

export default {
  setup() {
    onMounted(() => {
      const app = createPixiApp();
      document.body.appendChild(app.view);

      draw(app);
    });

    const createPixiApp = () => {
      const app = new PIXI.Application({
        width: 800,
        height: 600,
        backgroundColor: "0x000000",
      });

      return app;
    };

    const draw = (app) => {
      const graphics = new PIXI.Graphics();
      graphics.lineStyle(8, 0x008080);
      graphics.moveTo(0, 250);
      graphics.lineTo(800, 500);
      app.stage.addChild(graphics);

      const sprite = PIXI.Sprite.from(require("@/assets/sample.png"));
      app.stage.addChild(sprite);

      let elapsed = 0.0;
      app.ticker.add((delta) => {
        console.log(`delta: ${delta}`);
        elapsed += delta;
        sprite.x = 100.0 + Math.cos(elapsed / 50.0) * 100.0;
      });
    };

    return {
      draw,
    };
  },
};
</script>
Pixi 내에서 Canvas 정의해서 HTML 문서의 div 요소에 추가하는 방법
<template>
  <div id="pixi-container"></div>
</template>

<script>
import * as PIXI from "pixi.js";
import { onMounted } from "@vue/runtime-core";

export default {
  setup() {
    onMounted(() => {
      const app = createPixiApp();
      var container = document.getElementById("pixi-container");
      container.appendChild(app.view);

      draw(app);
    });

    const createPixiApp = () => {
      const app = new PIXI.Application({
        width: 800,
        height: 600,
        backgroundColor: "0x000000",
      });

      return app;
    };

    const draw = (app) => {
      const graphics = new PIXI.Graphics();
      graphics.lineStyle(8, 0x008080);
      graphics.moveTo(0, 250);
      graphics.lineTo(800, 500);
      app.stage.addChild(graphics);

      const sprite = PIXI.Sprite.from(require("@/assets/sample.png"));
      app.stage.addChild(sprite);

      let elapsed = 0.0;
      app.ticker.add((delta) => {
        console.log(`delta: ${delta}`);
        elapsed += delta;
        sprite.x = 100.0 + Math.cos(elapsed / 50.0) * 100.0;
      });
    };

    return {
      draw,
    };
  },
};
</script>