Flutter Canvas 그리기 예제 - (2) Grid 격자 그리기
28 Dec 2021 | Flutter10x10 Grid 격자 그리기
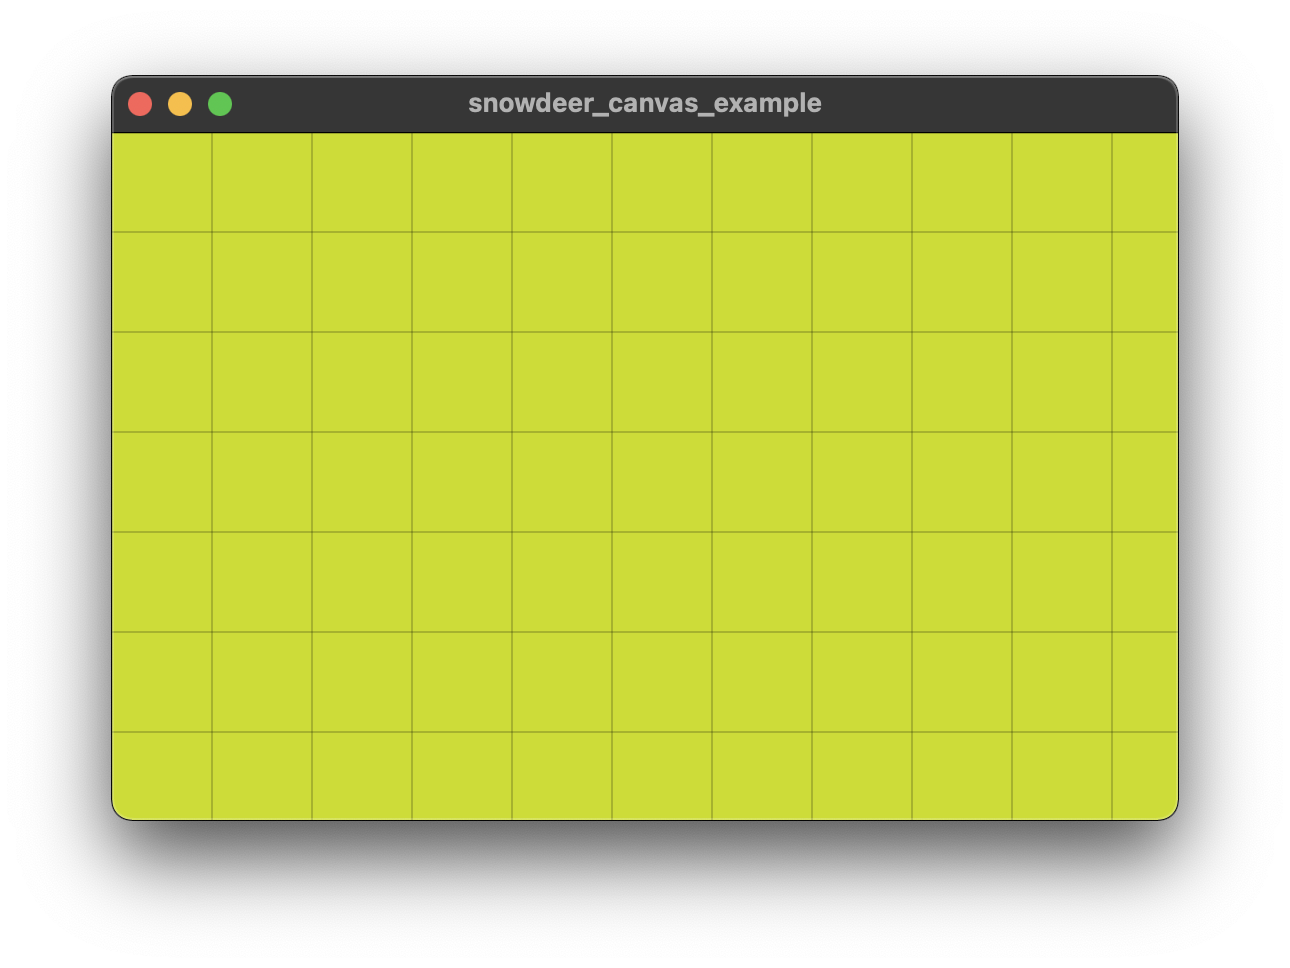
10x10의 격자를 그리는 샘플 코드입니다.
import 'package:flutter/material.dart';
class GridPage extends StatelessWidget {
const GridPage({Key key}) : super(key: key);
@override
Widget build(BuildContext context) {
return Scaffold(
body: CustomPaint(
child: Container(),
painter: GridPainter(),
),
);
}
}
class GridPainter extends CustomPainter {
static const rows = 10;
static const cols = 10;
@override
void paint(Canvas canvas, Size size) {
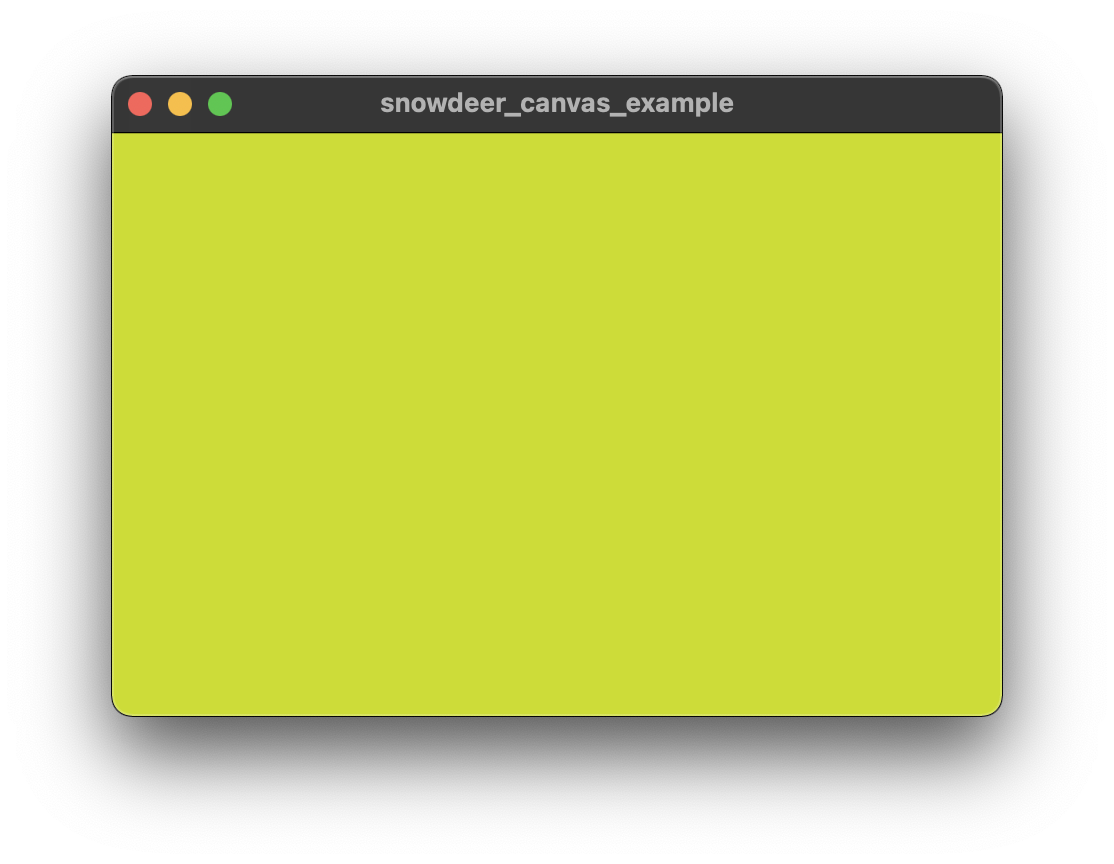
var backgroundPaint = Paint()
..style = PaintingStyle.fill
..color = Colors.lime
..isAntiAlias = true;
final screenWidth = size.width;
final screenHeight = size.height;
Rect rect = Rect.fromLTWH(0, 0, screenWidth, screenHeight);
canvas.drawRect(rect, backgroundPaint);
var linePaint = Paint()
..style = PaintingStyle.fill
..color = Colors.black38
..isAntiAlias = true;
final gridWidth = size.width / cols;
final gridHeight = size.height / rows;
for (int row = 0; row < rows; row++) {
final y = row * gridHeight;
final p1 = Offset(0, y);
final p2 = Offset(screenWidth, y);
canvas.drawLine(p1, p2, linePaint);
}
for (int col = 0; col < cols; col++) {
final x = col * gridWidth;
final p1 = Offset(x, 0);
final p2 = Offset(x, screenHeight);
canvas.drawLine(p1, p2, linePaint);
}
}
@override
bool shouldRepaint(CustomPainter oldDelegate) => false;
}
고정 간격의 Grid 그리기
화면의 크기가 변경되더라도 Grid 격자의 크기는 고정인 Canvas 예제입니다.
import 'package:flutter/material.dart';

class GridPage extends StatelessWidget {
  const GridPage({Key key}) : super(key: key);

  @override
  Widget build(BuildContext context) {
    return Scaffold(
      body: CustomPaint(
        child: Container(),
        painter: GridPainter(),
      ),
    );
  }
}

class GridPainter extends CustomPainter {
  static const gridWidth = 50.0;
  static const gridHeight = 50.0;

  var _width = 0.0;
  var _height = 0.0;

  void _drawBackground(Canvas canvas) {
    var paint = Paint()
      ..style = PaintingStyle.fill
      ..color = Colors.lime
      ..isAntiAlias = true;

    Rect rect = Rect.fromLTWH(0, 0, _width, _height);
    canvas.drawRect(rect, paint);
  }

  void _drawGrid(Canvas canvas) {
    var paint = Paint()
      ..style = PaintingStyle.fill
      ..color = Colors.black38
      ..isAntiAlias = true;

    final rows = _height / gridHeight;
    final cols = _width / gridWidth;

    for (int r = 0; r < rows; r++) {
      final y = r * gridHeight;
      final p1 = Offset(0, y);
      final p2 = Offset(_width, y);

      canvas.drawLine(p1, p2, paint);
    }

    for (int c = 0; c < cols; c++) {
      final x = c * gridWidth;
      final p1 = Offset(x, 0);
      final p2 = Offset(x, _height);

      canvas.drawLine(p1, p2, paint);
    }
  }

  @override
  void paint(Canvas canvas, Size size) {
    _width = size.width;
    _height = size.height;

    _drawBackground(canvas);
    _drawGrid(canvas);
  }

  @override
  bool shouldRepaint(CustomPainter oldDelegate) => false;
}