24 Dec 2021
|
MAC OS
M1에 brew 실행 오류 발생 해결법
M1 맥북에서 brew 명령어를 실행했을 때 오류가 발생한 경우에는 brew doctor로 문제를 해결해줍니다.
저같은 경우는 brew install tree에서 오류가 발생했네요.
$ brew install tree

Warning: No available formula with the name "tree".
==> Searching for similarly named formulae...
Error: No similarly named formulae found.
==> Searching for a previously deleted formula (in the last month)...
Error: No previously deleted formula found.
==> Searching taps on GitHub...
Error: No formulae found in taps.
이 경우 brew doctor를 실행하면 다음과 같이 현재 문제점을 알려줍니다.
$ brew doctor

Please note that these warnings are just used to help the Homebrew maintainers
with debugging if you file an issue. If everything you use Homebrew for is
working fine: please don't worry or file an issue; just ignore this. Thanks!

Warning: A newer Command Line Tools release is available.
Update them from Software Update in System Preferences or run:
  softwareupdate --all --install --force

If that doesn't show you any updates, run:
  sudo rm -rf /Library/Developer/CommandLineTools
  sudo xcode-select --install

Alternatively, manually download them from:
  https://developer.apple.com/download/all/.
You should download the Command Line Tools for Xcode 13.1.


Warning: Homebrew/homebrew-core was not tapped properly! Run:
  rm -rf "/opt/homebrew/Library/Taps/homebrew/homebrew-core"
  brew tap homebrew/core

Warning: Some taps are not on the default git origin branch and may not receive
updates. If this is a surprise to you, check out the default branch with:
  git -C $(brew --repo homebrew/core) checkout master
저 같은 경우 Homebrew/homebrew-core was not tapped 문제가 있어 다음 명령어를 실행했습니다.
$ rm -rf "/opt/homebrew/Library/Taps/homebrew/homebrew-core"
$ brew tap homebrew/core
24 Dec 2021
|
Flutter
Flutter 설치 방법
Flutter를 Mac OS에 설치 하는 방법입니다. 이전에도 한 번 포스팅을 했지만, Flutter 버전이 올라가면서 설치 방법에
아주 약간의 변경이 있었네요. 큰 차이는 없습니다.
여기에서 Flutter SDK를 다운로드할 수 있으며, 그 중 MacOS 버전은 여기에서 받을 수 있습니다.
설치 후 다음 명령어로 Flutter를 설치합니다.
mkdir ~/Development
cd ~/Development
unzip ~/Downloads/flutter_macos_2.8.1-stable.zip
그리고 .zshrc 파일에 아래 부분을 추가합니다.
# for Flutter
export PATH=$PATH:~/Development/flutter/bin
Flutter doctor
설치 후 flutter doctor 명령어를 이용해서 현재 시스템에 부족한 부분이 어떤 것이 있는 지 점검할 수 있습니다.
flutter doctor
점검 사항
안드로이드 라이센스가 수락되어 있지 않으면
flutter doctor --android-licenses
를 해줍니다.
XCode 라이센스 역시 아래의 명령어로 해결할 수 있습니다.
sudo xcodebuild -license
를 실행합니다.
iOS 개발을 할거면 CocoaPods도 설치해줍니다. 필수는 아니지만, Flutter Plugin 개발을 위해서도 설치가 필요합니다.
sudo gem install cocoapods
Enable desktop support
MacOS용 어플리케이션을 개발하기 위해서는 아래 설정을 꼭 해줘야 합니다.
flutter config --enable-macos-desktop
IntelliJ 설치 및 flutter 플러그인 설치
이제 IntelliJ를 설치하고 IntelliJ 내의 flutter 플러그인을 설치하면
개발 환경 설정 완료입니다.
23 Dec 2021
|
Python
Redis
Celery
Python Log Class
Python에는 기본적으로 훌륭한 Log 클래스들이 존재하지만, 커스트마이즈를 쉽게 하기 위해서는
간단한 Log 클래스 하나 정도는 갖고 있는게 좋을 듯 합니다.
import threading
from datetime import datetime


class Log:
    __BLACK = "\033[30m"
    __RED = "\033[31m"
    __GREEN = "\033[32m"
    __YELLOW = "\033[33m"
    __BLUE = "\033[34m"
    __MAGENTA = "\033[35m"
    __CYAN = "\033[36m"
    __WHITE = "\033[37m"
    __UNDERLINE = "\033[4m"
    __RESET = "\033[0m"

    __lock = threading.Lock()

    @classmethod
    def d(cls, message):
        Log.__print_log(Log.__GREEN, message)

    @classmethod
    def i(cls, message):
        Log.__print_log(Log.__YELLOW, message)

    @classmethod
    def w(cls, message):
        Log.__print_log(Log.__MAGENTA, message)

    @classmethod
    def e(cls, message):
        Log.__print_log(Log.__RED, message)

    @classmethod
    def __print_log(cls, color: int, message: str):
        with Log.__lock:
            timestamp = datetime.now().strftime("%Y-%m-%d %H:%M:%S.%f")
            print(f"{color}[{timestamp}] {message}{Log.__RESET}")
23 Dec 2021
|
Python
Redis
Celery
Python에서 Celery 사용하기
Celery는 Task Queue입니다. RabbitMQ나 Redis 등을 백엔드로 사용하며 그 위에서 Wrapper로 추상화된
인터페이스를 제공해줍니다.
설치
pip3 install redis
pip3 install celery
tasks.py
Task 실행 요청을 수신하는 서버측 코드입니다.
import time

from celery import Celery

BROKER_URL = 'redis://localhost:6379/0'
BACKEND_URL = 'redis://localhost:6379/1'
app = Celery('tasks', broker=BROKER_URL, backend=BACKEND_URL)


@app.task(name="snowdeer_add")
def add(x, y):
    for i in range(1, 10):
        print("Calculating ...")
        time.sleep(0.5)

    return x + y
실행은 일반적인 python3로 하는 것이 아니라 아래의 명령어로 실행합니다.
$ celery -A tasks worker --loglevel=info

 -------------- celery@Choongs-MacBook-Pro.local v5.2.1 (dawn-chorus)
--- ***** -----
-- ******* ---- macOS-12.0.1-arm64-arm-64bit 2021-12-25 19:59:29
- *** --- * ---
- ** ---------- [config]
- ** ---------- .> app:         tasks:0x10273e430
- ** ---------- .> transport:   redis://localhost:6379/0
- ** ---------- .> results:     redis://localhost:6379/1
- *** --- * --- .> concurrency: 8 (prefork)
-- ******* ---- .> task events: OFF (enable -E to monitor tasks in this worker)
--- ***** -----
 -------------- [queues]
                .> celery           exchange=celery(direct) key=celery


[tasks]
  . snowdeer_add

[2021-12-25 19:59:29,936: INFO/MainProcess] Connected to redis://localhost:6379/0
[2021-12-25 19:59:29,945: INFO/MainProcess] mingle: searching for neighbors
[2021-12-25 19:59:30,982: INFO/MainProcess] mingle: all alone
[2021-12-25 19:59:31,035: INFO/MainProcess] celery@snowdeer-MacBook-Pro.local ready.
client.py
from tasks import add

f = add.apply_async(args=[2, 3, ])
result = f.get(timeout=10)

print(f"result: {result}")
단순히 Task만 요청하고 싶을 때는 add.apply_async(args=[2, 3, ]) 대신 add.delay(2, 3)과 같은 코드로
대신할 수도 있습니다.
23 Dec 2021
|
MAC OS
M1에 Docker 설치하는 방법
Docker 다운로드
Docker가 M1에서 동작할 수 있도록 정식 버전이 릴리즈되어 있습니다.
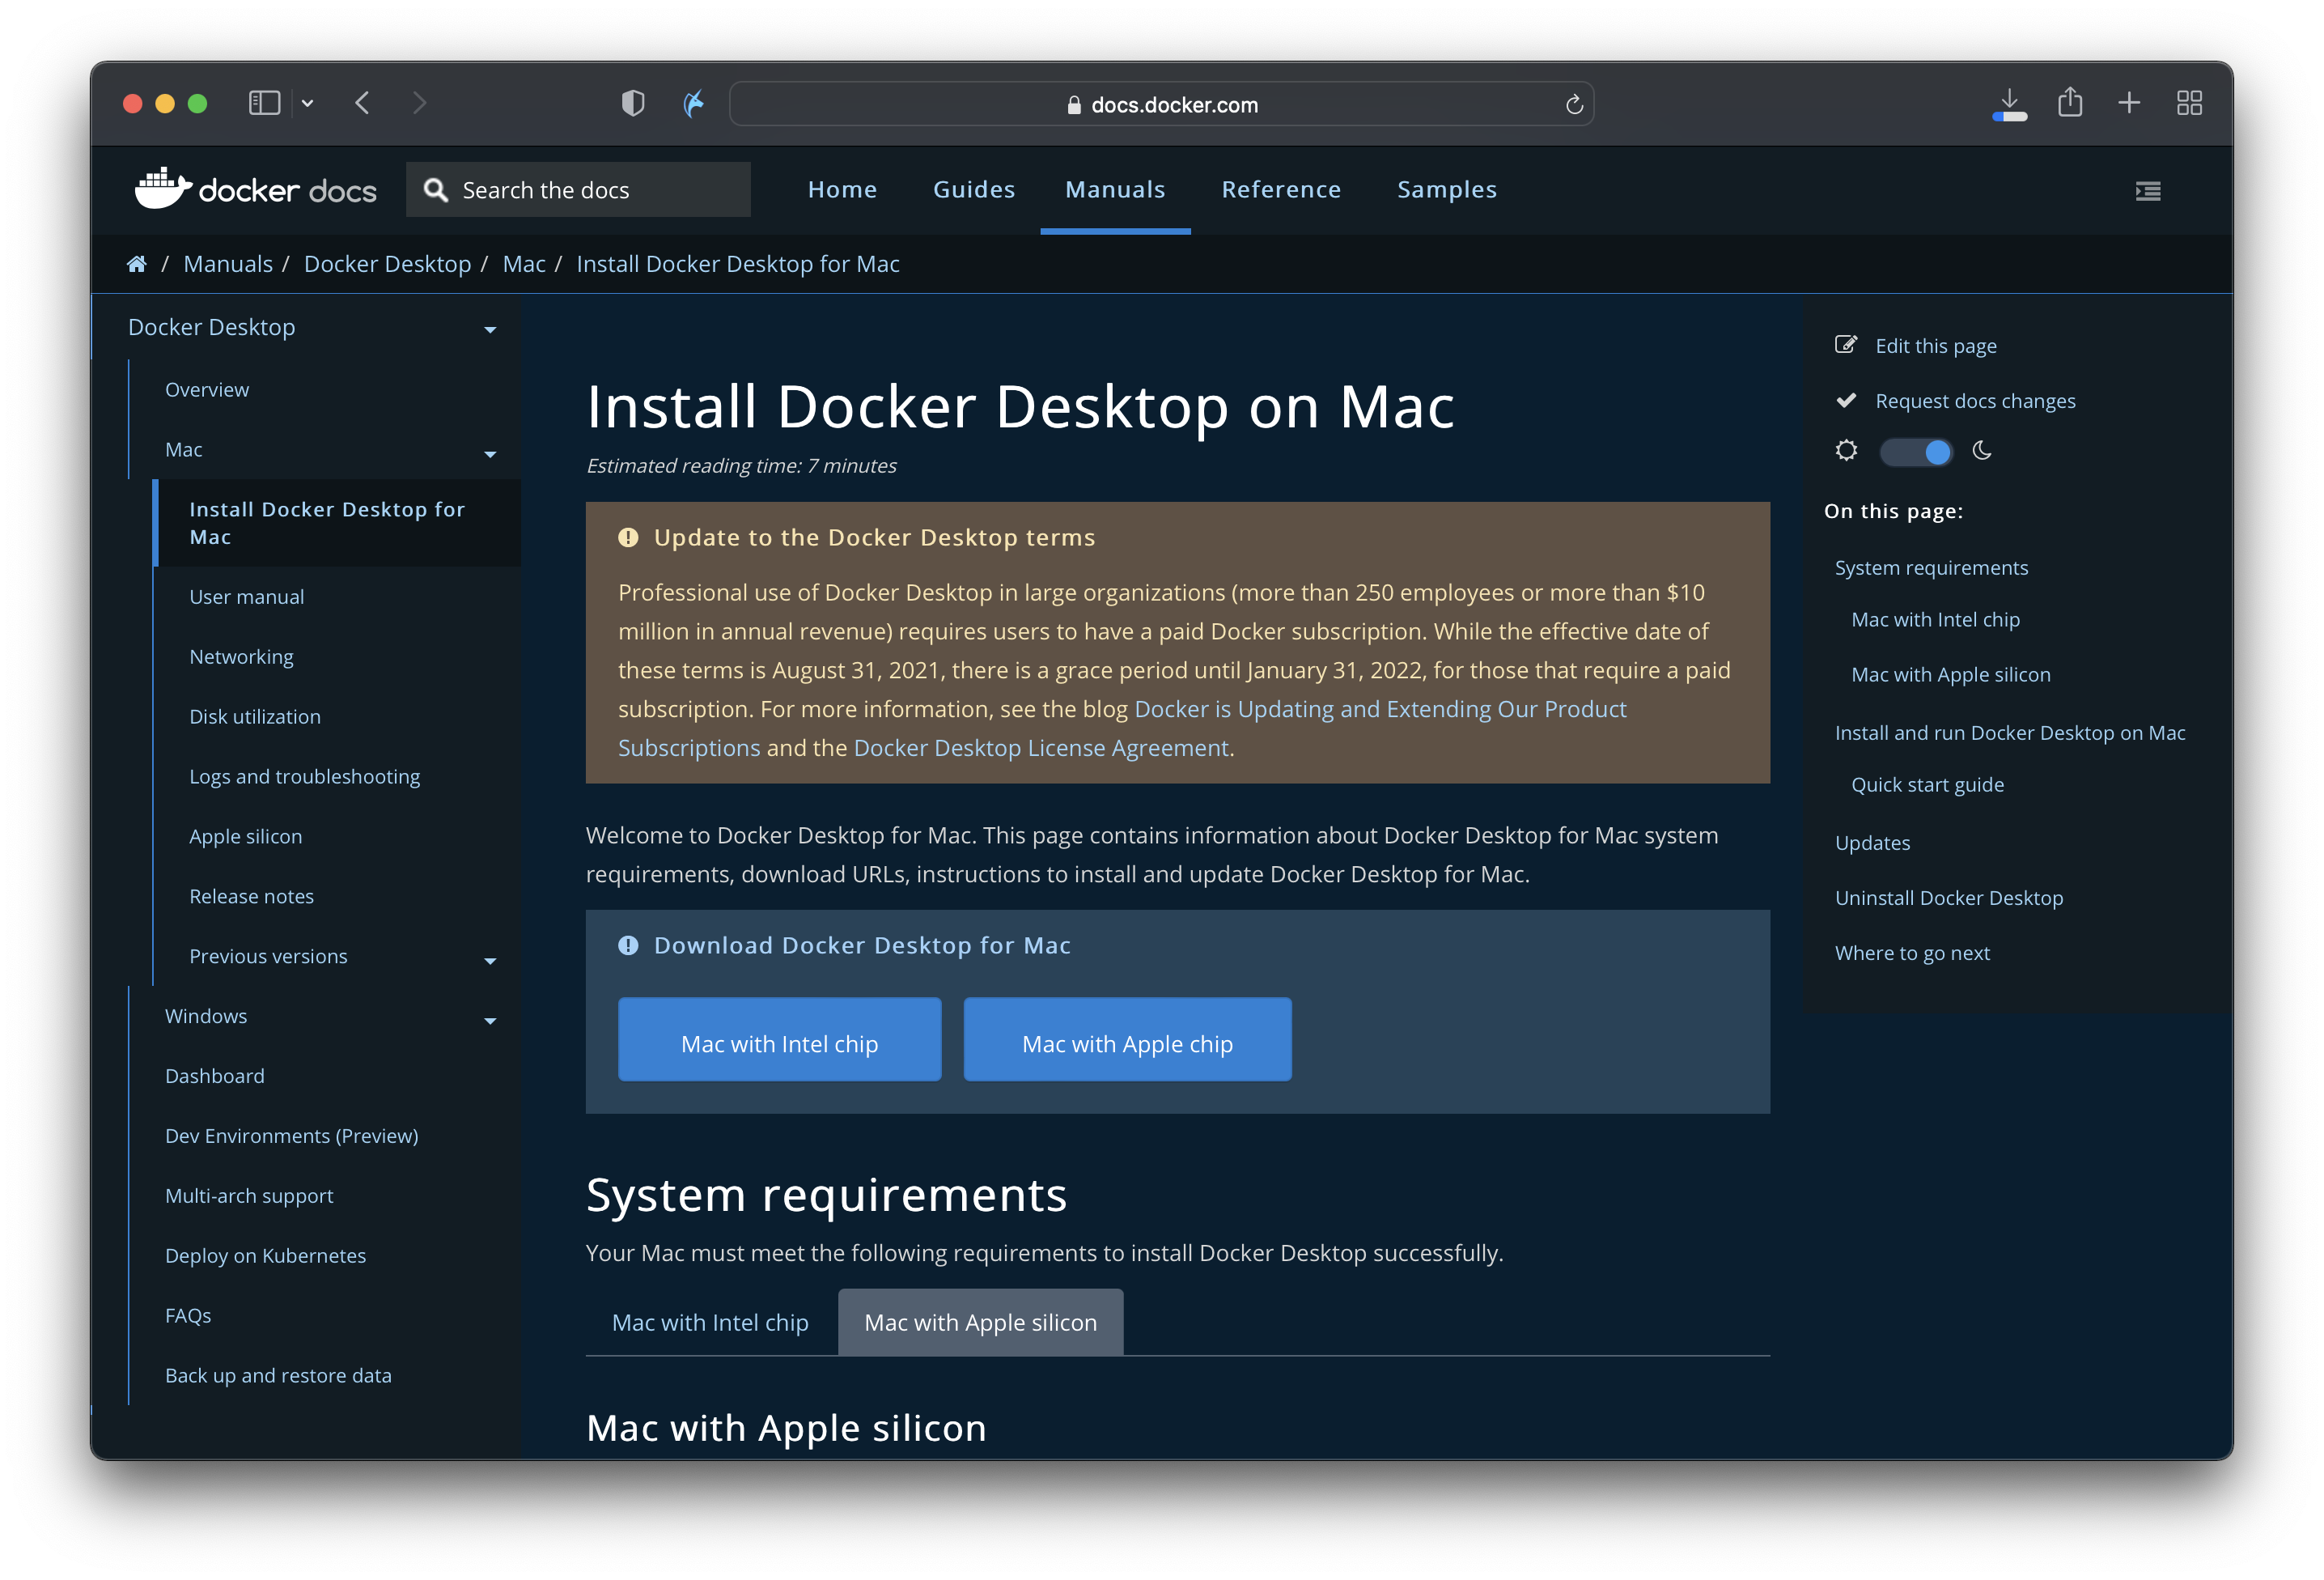
여기에서 다운로드할 수 있습니다.
Docker Subscription Service Agreement
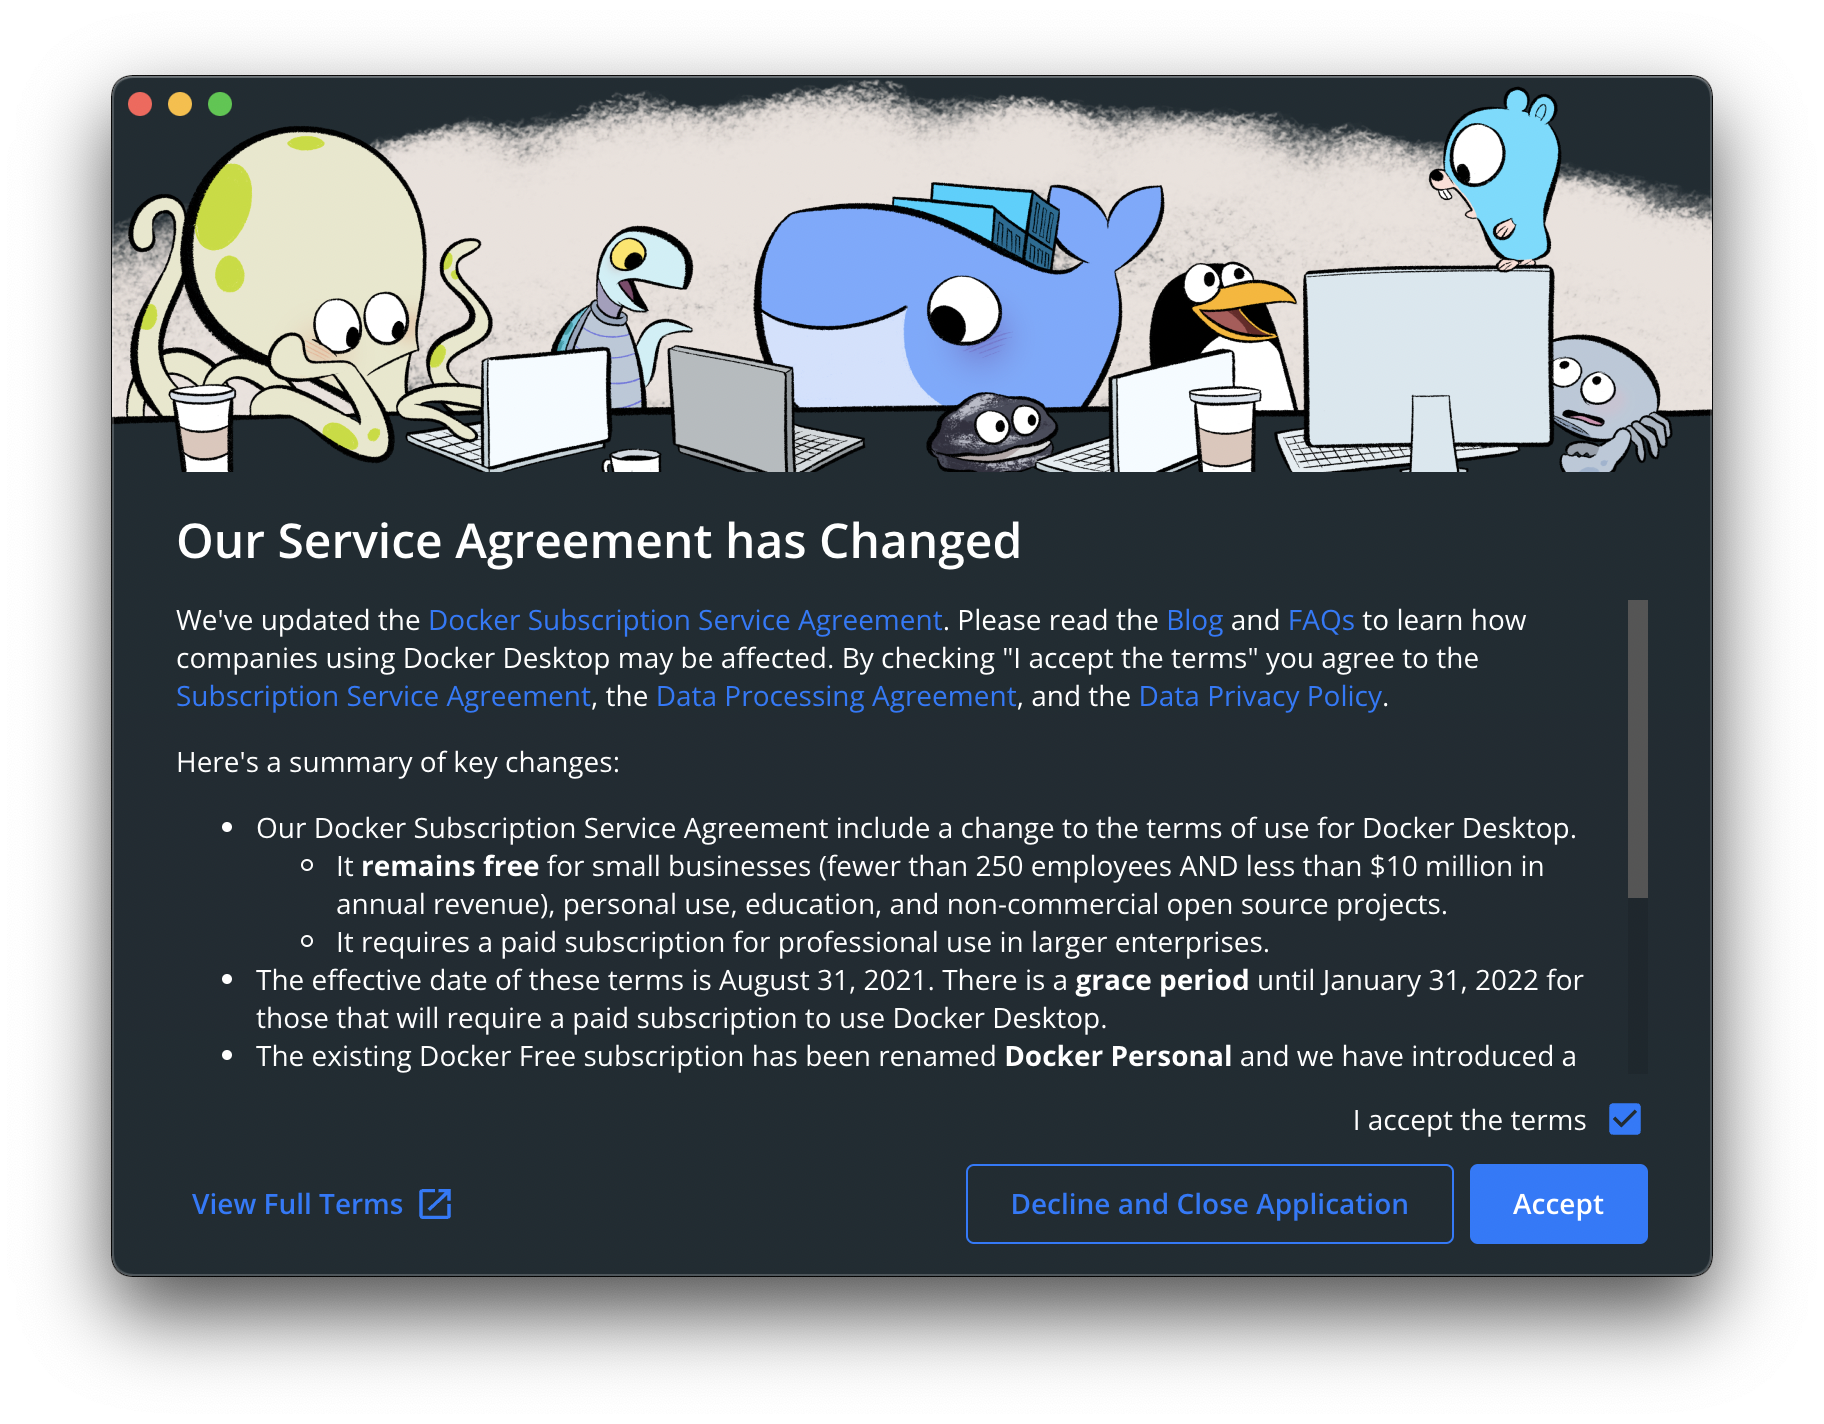
Accept를 누르고 계속 진행합니다.
Tutorial
설치를 하고나면 간단한 튜토리얼을 해볼 수 있습니다.
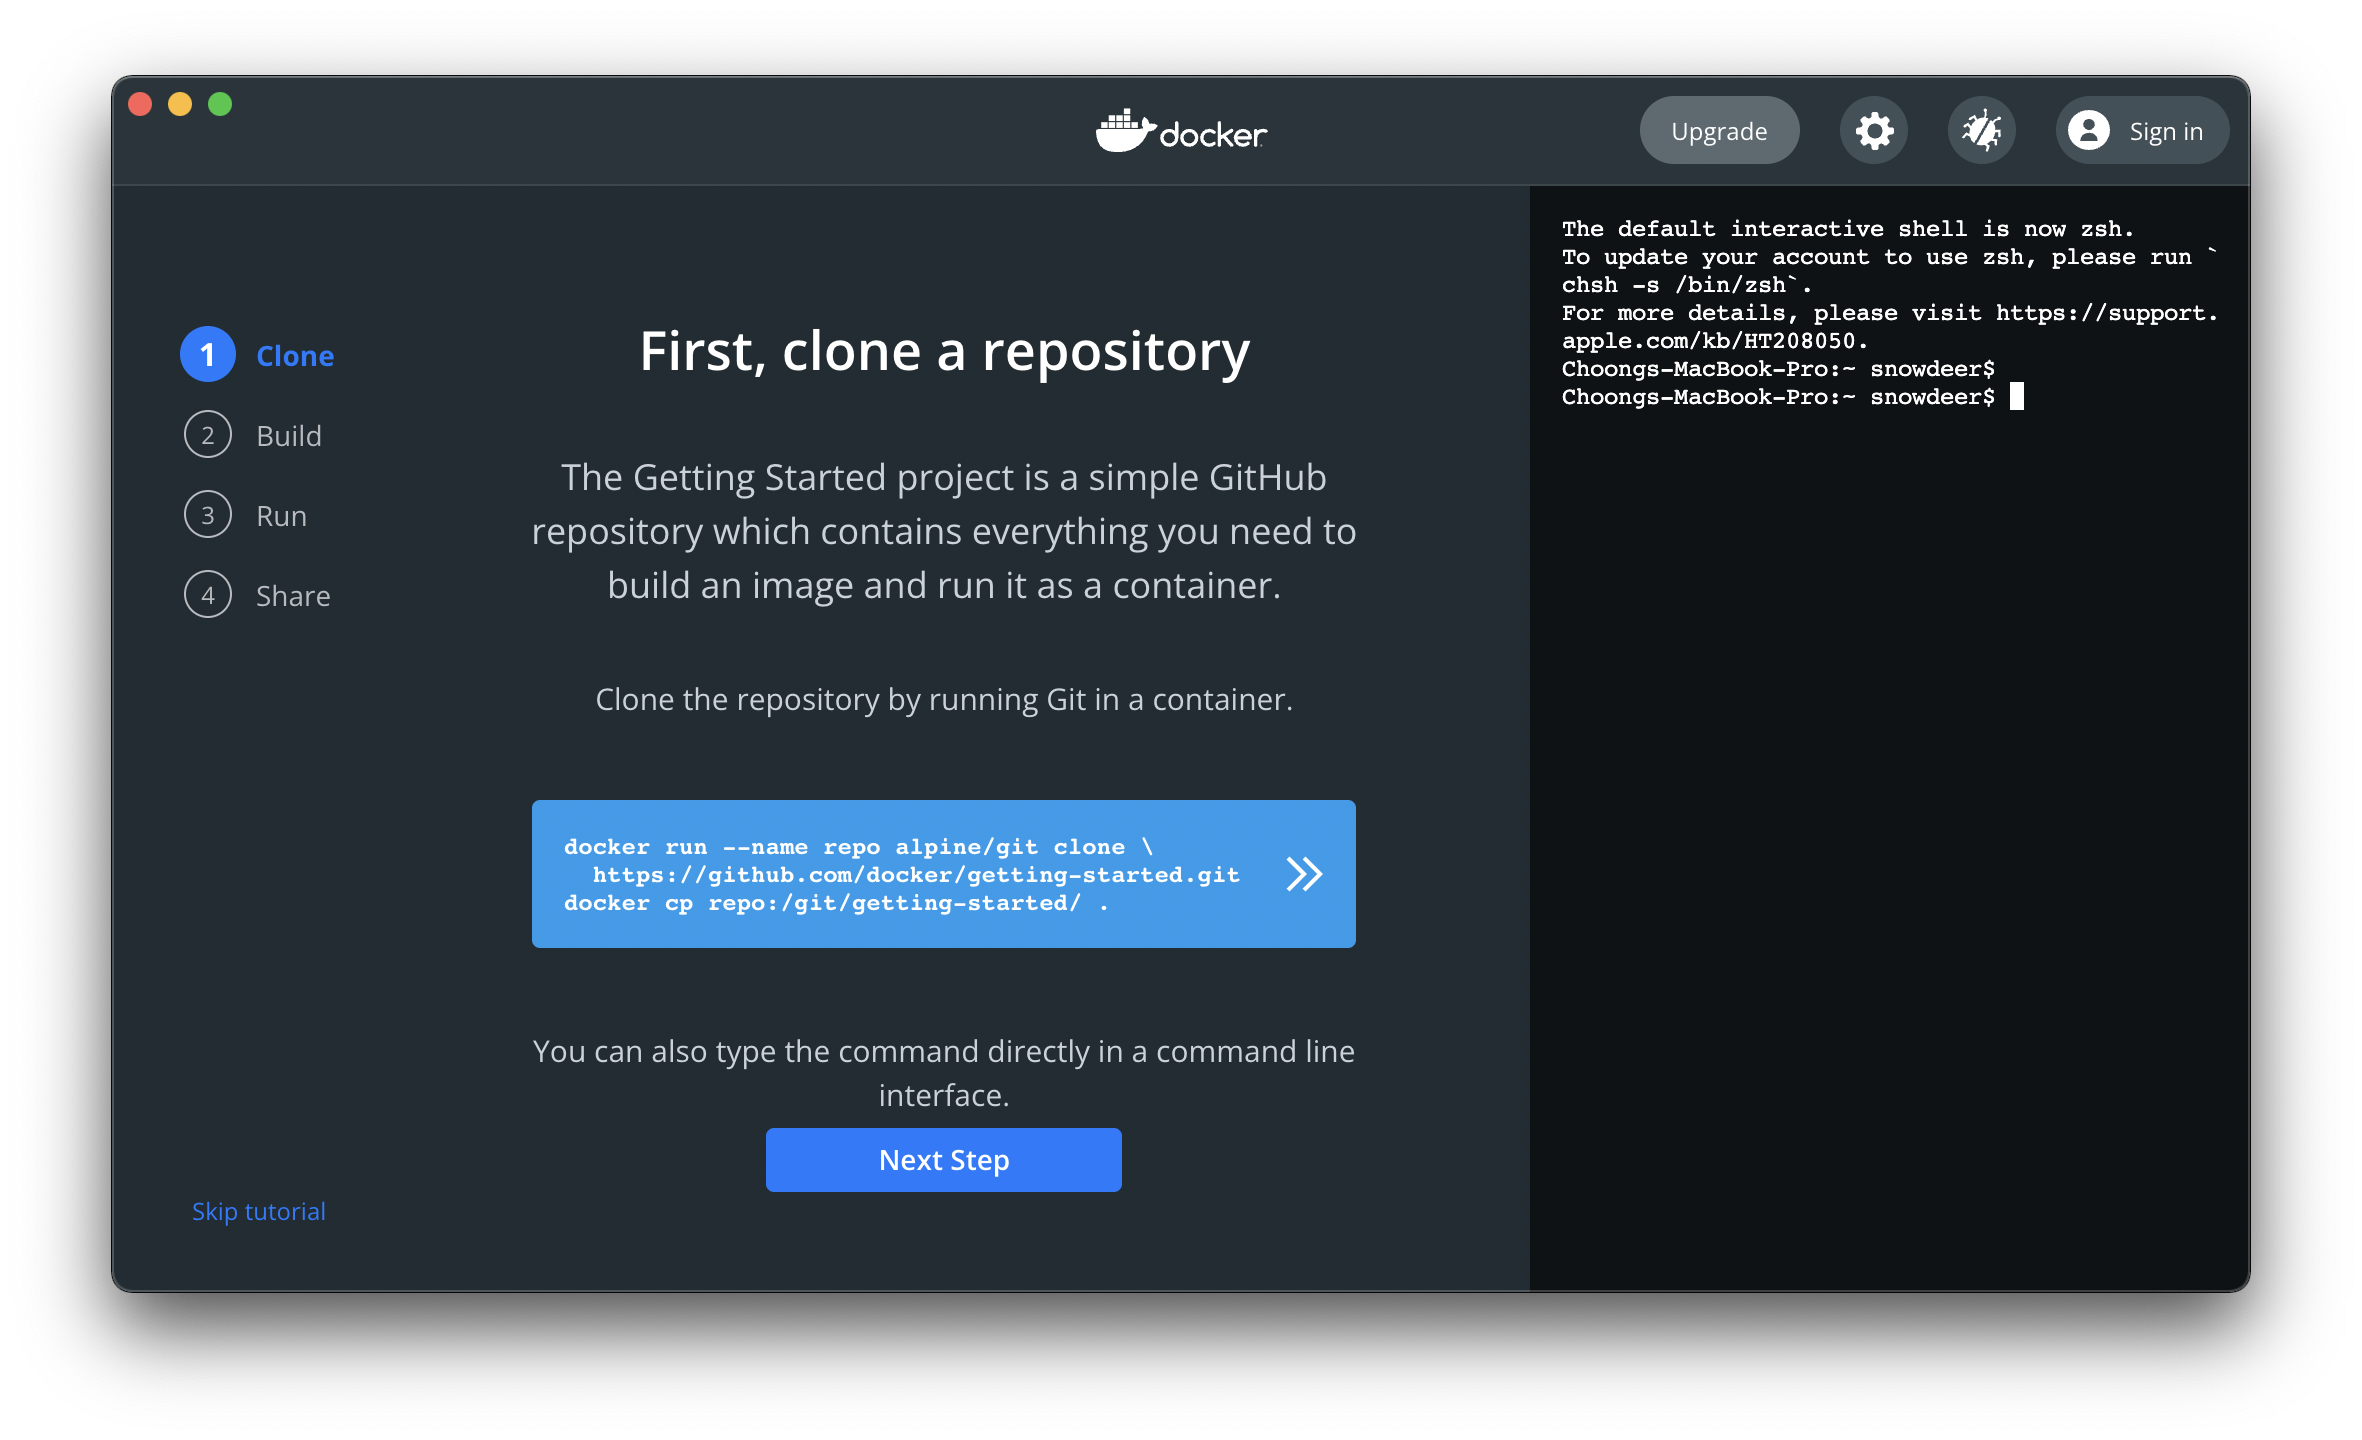
clone, build, run, share에 대한 간단한 명령어를 확인할 수 있습니다.
터미널에서 확인
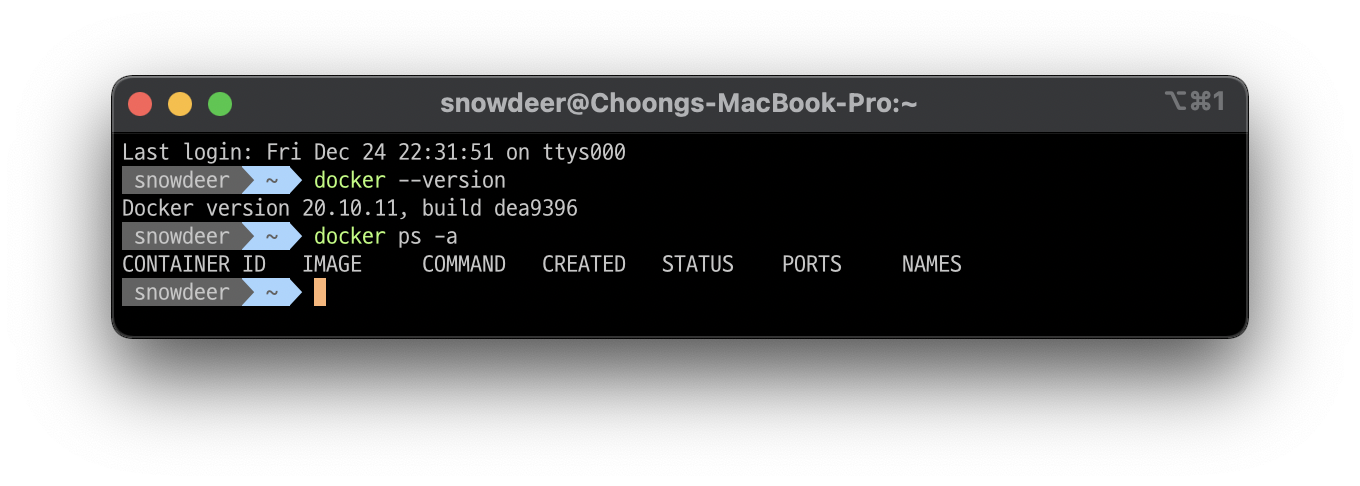
터미널에서도 Docker 명령어가 잘 동작하는 것을 확인합니다.
실제 동작 확인
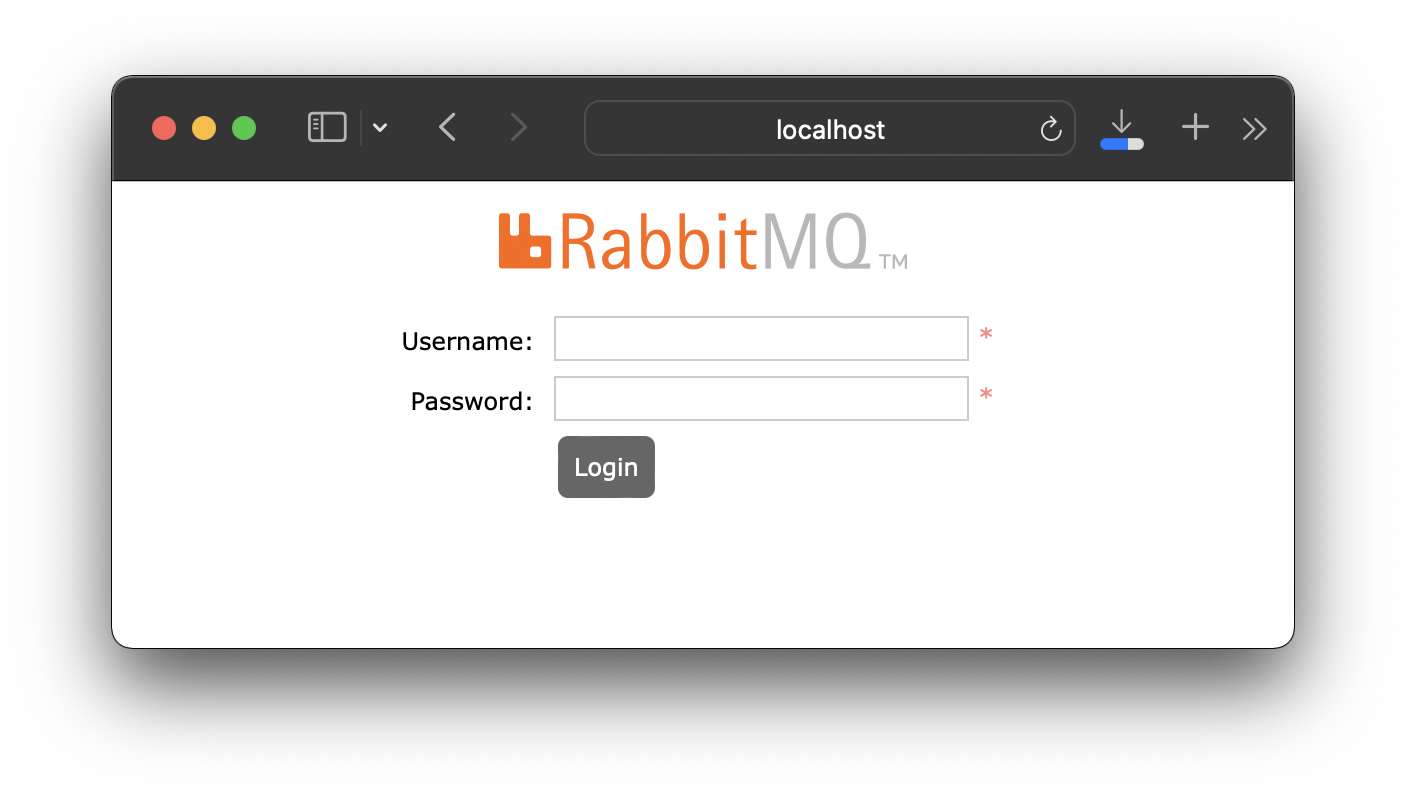
여기서는 RabbitMQ를 이용해서 테스트 해보도록 하겠습니다.
아래 명령어를 입력하면 RabbitMQ 이미지까지 자동으로 다운로드 후 실행까지 합니다.
$ docker run -d --hostname rabbit --name rabbit -p 15672:15672 -p 5672:5672 rabbitmq:3-management

Unable to find image 'rabbitmq:3-management' locally
3-management: Pulling from library/rabbitmq
a39c84e173f0: Pull complete
7d3994c28245: Pull complete
10c911d5c079: Pull complete
769f1e4dc40b: Pull complete
2090f091d001: Pull complete
f9e692861b3e: Pull complete
d26c4b0e32ac: Pull complete
3cf30fecd6f0: Pull complete
c5b6ca5b444e: Pull complete
aa1dff4734e4: Pull complete
Digest: sha256:4c4b66ad5ec40b2c27943b9804d307bf31c17c8537cd0cd107236200a9cd2814
Status: Downloaded newer image for rabbitmq:3-management
501592f6fdc53e1da8ff527b2b4cf7853ce28bf05dd06e3c62fbac6e747e4945
잘 동작하는지 확인해봅니다.
$ docker ps -a

CONTAINER ID   IMAGE                   COMMAND                  CREATED          STATUS          PORTS                                                                                                         NAMES
501592f6fdc5   rabbitmq:3-management   "docker-entrypoint.s…"   28 seconds ago   Up 27 seconds   4369/tcp, 5671/tcp, 0.0.0.0:5672->5672/tcp, 15671/tcp, 15691-15692/tcp, 25672/tcp, 0.0.0.0:15672->15672/tcp   rabbit
그리고 사파리나 크롬 등에서 http://localhost:15672/에 접속해서 다음 화면이 잘 나오는지 확인합니다.