Pixi.js Viewport 예제코드
PixiView.vue
<template>
  <div id="container">
    <canvas id="pixi-canvas"></canvas>
  </div>
</template>

<script>
import "./js/pixi-app";
import { PixiApp } from "./js/pixi-app";
export default {
  mounted() {
    this.createPixiApp();
  },
  methods: {
    createPixiApp() {
      const app = new PixiApp(800, 600);
      const canvas = document.getElementById("pixi-canvas");
      canvas.appendChild(app.view);
      console.log(`window size(${window.innerWidth}, ${window.innerHeight})`);
      console.log(`app size(${app.view.width}, ${app.view.height})`);
    },
  },
};
</script>

<style>
#container {
  display: block;
  width: 100vw;
  height: 100vh;
  background: whitesmoke;
}
#pixi-canvas {
  display: block;
  margin: 5%;
}
</style>
js/pixi-app.js
import * as PIXI from "pixi.js-legacy";
import { Viewport } from "pixi-viewport";

class PixiApp extends PIXI.Application {
  constructor(width, height) {
    super({
      width: width,
      height: height,
      backgroundColor: 0xffebee,
      antialias: true,
    });

    const screenWidth = 800;
    const screenHeight = 600;
    const worldWidth = screenWidth * 2;
    const worldHeight = screenHeight * 2;

    const viewport = new Viewport({
      screenWidth: screenWidth,
      screenHeight: screenHeight,
      worldWidth: worldWidth,
      worldHeight: worldHeight,

      interaction: this.renderer.plugins.interaction,
    });

    this.stage.addChild(viewport);

    const grid = this.#createGrid();
    viewport.addChild(grid);

    const boundary = this.#createBoundary(worldWidth, worldHeight);
    viewport.addChild(boundary);

    this.#registerViewportEventHandler(viewport);

    console.log(viewport);
    console.log(`Screen width: ${viewport.screenWidth}`);
    console.log(`World width: ${viewport.worldWidth}`); // World height, in pixels
    console.log(
      `Screen width in World pixels width(${viewport.screenWidthInWorldPixels})`
    ); // Get how many world pixels fit in screen's width
    console.log(`Screen World width(${viewport.screenWorldWidth})`); // World width in screen coordinates
    console.log(`World Screen width(${viewport.worldScreenWidth})`); // Screen width in world coordinates
    console.log(`Viewport Corner`, viewport.corner); // Screen width in world coordinates
    console.log(`Viewport Center`, viewport.center); // Screen width in world coordinates
  }

  #registerViewportEventHandler(viewport) {
    const screenWidth = 800;
    const screenHeight = 600;

    viewport
      .drag()
      .pinch()
      .wheel()
      .decelerate()
      .clamp({
        direction: "all",
        underflow: "center",
      })
      .clampZoom({
        minWidth: screenWidth,
        minHeight: screenHeight,
        maxWidth: screenWidth * 3,
        maxHeight: screenHeight * 3,
      })
      .clampZoom({
        minScale: 0.5,
        maxScale: 2,
      })
      .fit();

    viewport.on("pointerup", (e) => {
      const x = e.data.global.x;
      const y = e.data.global.y;
      console.log(`point UP (${x}, ${y})`); // Viewport 좌표
      console.log(`toScreen: `, viewport.toScreen(x, y));
      console.log(`toWorld: `, viewport.toWorld(x, y));
      console.log(`visibleBounds()`, viewport.getVisibleBounds());
    });
  }

  #createBoundary(width, height) {
    const container = new PIXI.Container();
    const boundary = new PIXI.Graphics();
    boundary.lineStyle(8, 0xff0000);
    boundary.drawRect(0, 0, width, height);
    container.addChild(boundary);

    return container;
  }

  #createGrid() {
    const container = new PIXI.Container();
    const origin = this.#createCrossPoint({
      x: 0,
      y: 0,
      color: 0xff0000,
      size: 50,
      fontsize: 14,
    });
    container.addChild(origin);

    for (let row = 0; row <= 20; row++) {
      for (let col = 0; col <= 20; col++) {
        if (row == 0 && col == 0) continue;

        const p = this.#createCrossPoint({
          x: col * 100,
          y: row * 100,
        });
        container.addChild(p);
      }
    }

    return container;
  }

  #createCrossPoint({
    x,
    y,
    color = 0x000000,
    size = 5,
    thickness = 1,
    fontsize = 8,
  }) {
    const container = new PIXI.Container();

    const grid = new PIXI.Graphics();
    grid.lineStyle(thickness, color);
    grid.moveTo(x - size, y);
    grid.lineTo(x + size, y);
    grid.moveTo(x, y - size);
    grid.lineTo(x, y + size);
    container.addChild(grid);

    const text = new PIXI.Text(`(${x},${y})`, {
      fontFamily: "Arial",
      fontSize: fontsize,
      fill: color,
    });
    text.position.set(x + 3, y + 3);
    container.addChild(text);

    return container;
  }
}

export { PixiApp };
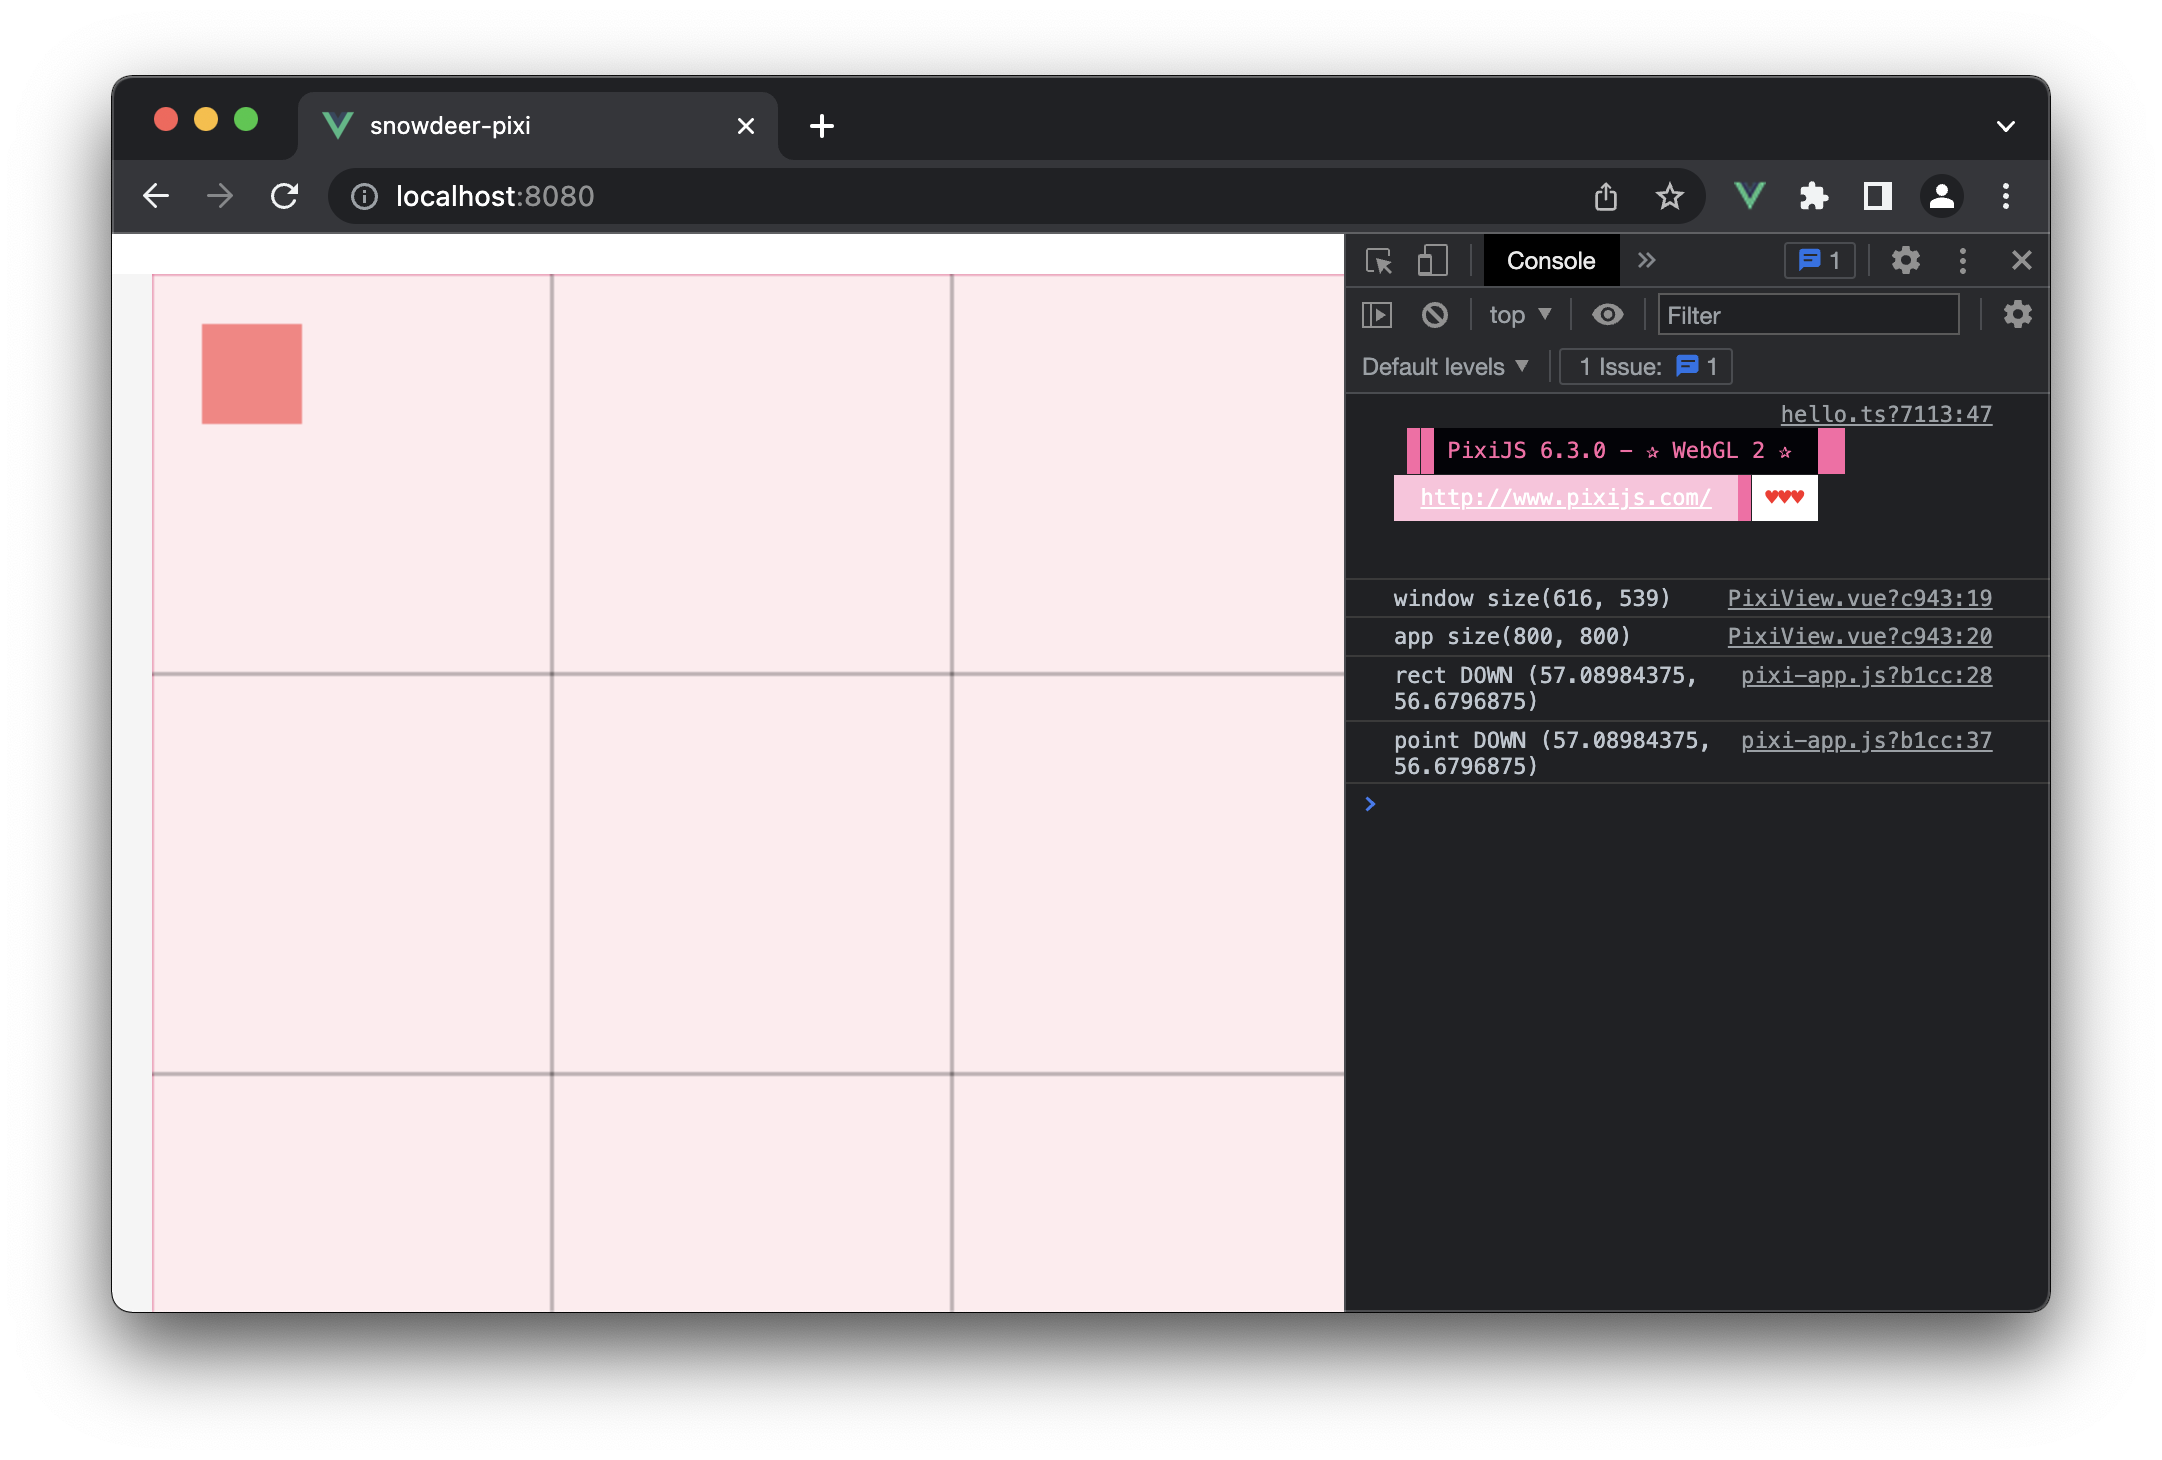
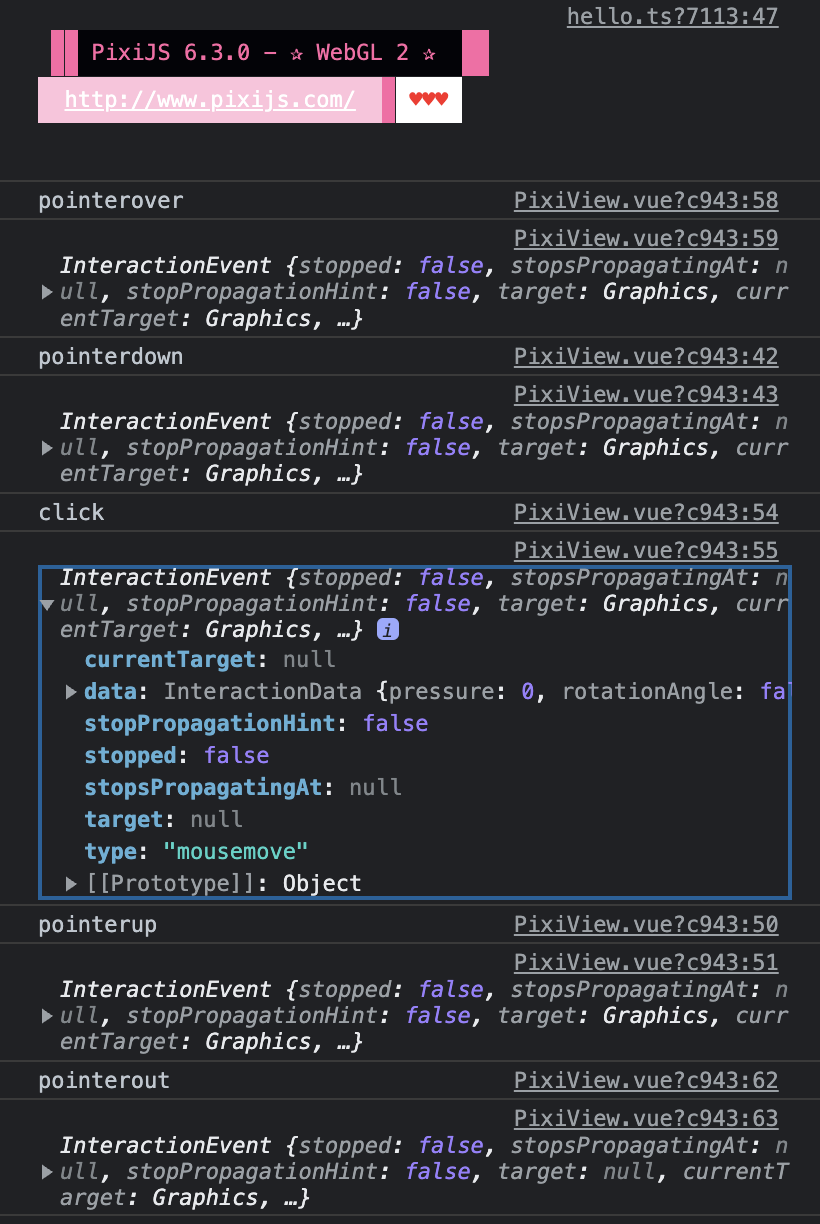
실행화면
화면의 각 위치를 터치해보고, 화면을 panning으로 이동 후 각 위치를 터치, Zoom 등으로 화면을 확대/축소하면서 각 위치를 터치하면서 좌표계를 확인해볼 수 있습니다.
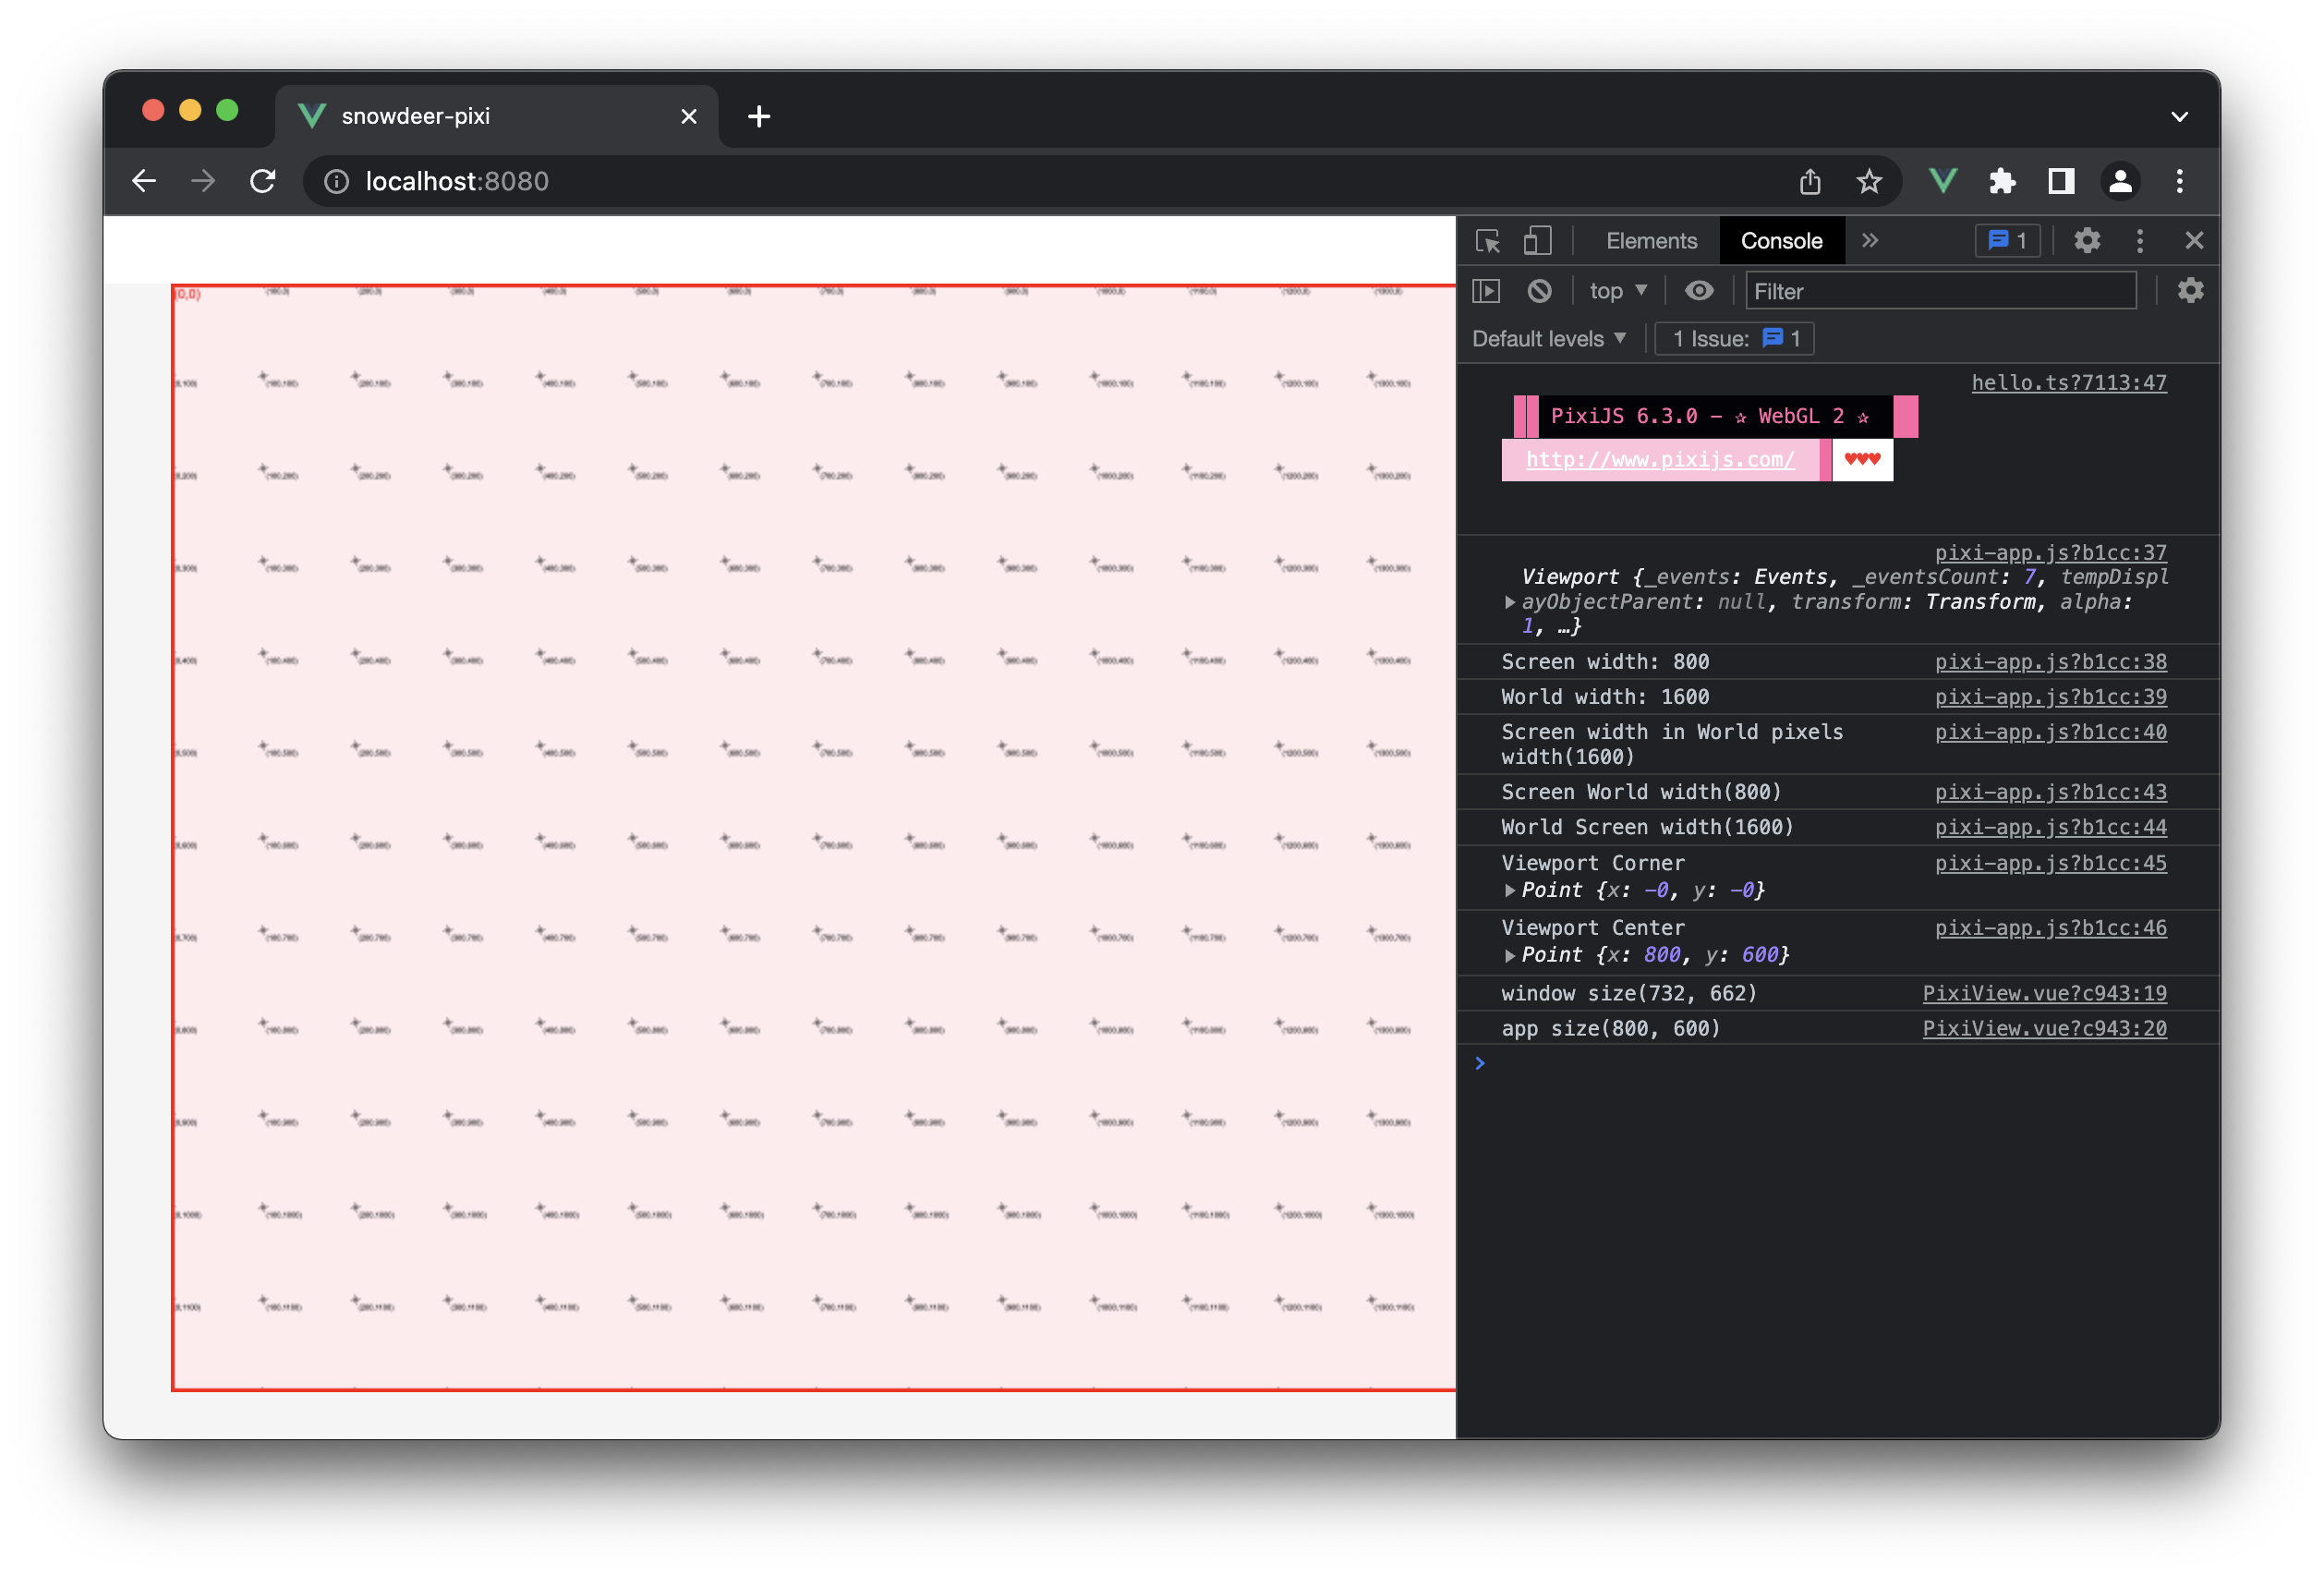
각 이벤트를 거쳐 전달되는 좌표값은 Viewport 상의 좌표이며, 이를 World 좌표로 변환하면 각 오브젝트가 그려진 Canvas 상의 좌표라고 볼 수 있습니다.