16 Apr 2022
|
javascript
html5
Pixi.js의 기본 흐름
Pixi.js에 대한 더 자세한 내용은 여기에서 확인할 수 있습니다.
기본 흐름
Pixi.js의 기본 흐름은 다음과 같습니다.
- HTML 작성
- Pixi Application 생성
- HTML에 Pixi Application 연동
- stage에 오브젝트 추가
- Update Looping
Pixi Application 생성 및 HTML 연동
Pixi Application을 생성해서 HTML에 연동하는 예제 코드는 이전 포스팅에서 언급했기 때문에 여기서는 stage에 오브젝트 추가 및 Update Looping에 대한 예제만 다룹니다.
stage에 오브젝트 추가
stage에 오브젝트 추가는 화면에 오브젝트를 렌더링하는 단계가 아닙니다. 단순히 stage라는 컨테이너(Container)에 오브젝트를 추가할 뿐이며, 추가된 오브젝트는 별도의 렌더링 과정에서 그리게 됩니다.
다음과 같은 코드를 이용해서 stage에 오브젝트를 추가할 수 있습니다.
const sprite = PIXI.Sprite.from('pikachu.png');
 app.stage.addChild(sprite);
Update Loop
다음과 같은 코드를 통해 매 Frame 마다 화면을 갱신할 수 있습니다. delta에는 Tick마다 흘러간 시간이 매개변수로 전달됩니다. 따라서 delta 값을 이용해서 흘러간 시간을 체크할 수 있고, Frame rate도 조절할 수 있습니다.
// Add a variable to count up the seconds our demo has been running
let elapsed = 0.0;
// Tell our application's ticker to run a new callback every frame, passing
// in the amount of time that has passed since the last tick
app.ticker.add((delta) => {
  // Add the time to our total elapsed time
  elapsed += delta;
  // Update the sprite's X position based on the cosine of our elapsed time.  We divide
  // by 50 to slow the animation down a bit...
  sprite.x = 100.0 + Math.cos(elapsed/50.0) * 100.0;
});
다만 Ticker는 특정 시간 후 호출되는 Callback 함수이며, 별도로 Ticker를 지정하지 않더라도 stage에 오브젝트만 추가한다면 정적인 화면을 렌더링할 수 있습니다.
15 Apr 2022
|
Vue.js
css
화면 크기에 따라 동작이 바뀌는 Navigation Drawer
화면의 너비(width)에 따라 슬라이딩 및 오버레이 동작으로 작동하는 Navigation Drawer 입니다.
브라우저의 폭이 넓으면 슬라이딩(Sliding, Push) 방식으로 동작하며, 폭이 좁은 경우에는 오버레이(Overlay, OffCanvas)로
동작합니다.
BootStrap과 scss를 사용하지만, 실제 동작은 순수 Vue와 css로 동작합니다. Vue 3.0의 Composition API를 활용해서 구현되었으며, 화면 크기는 Media Query를 이용해서 확인합니다.
필요 패키지 설치
npm i bootstrap --save
npm i bootstrap-icons --save
npm i sass --save
npm i sass-loader --save
소스 코드들
main.js
import { createApp } from "vue";
import App from "./App.vue";
import bootstrap from "bootstrap";
import "bootstrap-icons/font/bootstrap-icons.css";

createApp(App).use(bootstrap).mount("#app");
App.vue
<template>
  <div id="app">
    <NavigationDrawer
      id="drawer"
      :class="isDrawerOpened ? 'opened' : 'closed'"
      @menu-selected="drawerMenuSelected"
    />
    <div
      id="drawer-dismiss-panel"
      v-if="isDrawerOpened"
      @click="closeDrawer"
    ></div>
    <div id="main" :class="{ 'drawer-opened': isDrawerOpened }">
      <AppBar id="appbar" @toggle-drawer="onToggleDrawer" />

      <div id="content">This is a navigation drawer sample.</div>
    </div>
  </div>
</template>

<script setup>
import NavigationDrawer from "@/components/NavigationDrawer.vue";
import AppBar from "@/components/AppBar.vue";
import { ref } from "@vue/reactivity";

const isDrawerOpened = ref(false);

const onToggleDrawer = () => {
  isDrawerOpened.value = !isDrawerOpened.value;
};

const closeDrawer = () => {
  isDrawerOpened.value = false;
};

const drawerMenuSelected = (menu) => {
  console.log(`Menu(${menu}) is selected !!`);
};
</script>

<style lang="scss" scoped>
$primary: #009688;
$secondary: #4db6ac;
$dark: #004d40;
$accent: #64ffda;
$translucent: rgba(0, 0, 0, 0.7);

#app {
  font-family: Avenir, Helvetica, Arial, sans-serif;
  -webkit-font-smoothing: antialiased;
  -moz-osx-font-smoothing: grayscale;

  display: flex;
  flex-direction: row;
  background: black;
  color: white;

  width: 100vw;
  height: 100vh;
}

#drawer {
  position: absolute;
  z-index: 10;
  width: 180px;
  margin-left: -180px;
  height: 100vh;
  overflow: hidden;
  transition: 0.3s;
}
#drawer.opened {
  margin-left: 0px;
}
#drawer.closed {
  margin-left: -180px;
}
#drawer-dismiss-panel {
  display: none;
}

#main {
  position: absolute;
  z-index: 1;
  width: 100vw;
  height: 100vh;
  transition: 0.3s;
}
#main.drawer-opened {
  margin-left: 180px;
  width: calc(100% - 180px);
}
#main.drawer-closed {
  margin-left: 0px;
  width: 100%;
}

#appbar {
  margin: 0;
  background: $primary;
}

#content {
  margin: 0;
  color: black;
  background-color: whitesmoke;
  width: 100%;
  height: 100%;
}

@media screen and (max-width: 480px) {
  #drawer {
    position: fixed;
  }
  #drawer-dismiss-panel {
    display: inline-block;
    position: fix;
    z-index: 5;
    width: 100vw;
    height: 100vh;
    background-color: $translucent;
  }
  #main {
    display: block;
    position: absolute;
  }
  #main.drawer-opened {
    margin-left: 0px;
    width: 100%;
  }
}
</style>
components/AppBar.vue
<template>
  <div id="appbar">
    <div
      id="hamburg-menu"
      class="align-horizontal-center align-vertical-center"
      @click="toggleDrawer"
    >
      <i class="bi bi-list"></i>
    </div>
    <div id="title" class="align-vertical-center">AppBar Title</div>
    <div id="action-items">
      <i class="action-item bi bi-heart"></i>
      <i class="action-item bi bi-three-dots-vertical"></i>
    </div>
  </div>
</template>

<script setup>
import { defineEmits } from "vue";

const emit = defineEmits(["toggle-drawer"]);
const toggleDrawer = () => {
  emit("toggle-drawer");
};
</script>

<style lang="scss" scoped>
$accent: #64ffda;

.align-horizontal-center {
  display: flex;
  flex-direction: row;
  justify-content: center;
}

.align-vertical-center {
  display: flex;
  flex-direction: row;
  align-items: center;
}

#appbar {
  display: flex;
  flex-direction: row;
  height: 48px;
}

#hamburg-menu {
  width: 48px;
  height: 48px;
}
#hamburg-menu:hover {
  color: black;
  background: $accent;
}

#title {
  flex: 1;
  height: 48px;
}

#action-items {
  display: flex;
  flex-direction: row;
  height: 48px;
}

.action-item {
  width: 48px;
  height: 48px;
  display: flex;
  justify-content: center;
  align-items: center;
}
.action-item:hover {
  color: black;
  background: $accent;
}
</style>
components/NavigationDrawer.vue
<template>
  <div id="drawer">
    <div id="header">SnowDeer Drawer</div>
    <div id="content">
      <div class="menu-item">
        <i class="bi bi-house"></i>
        <span>Home</span>
      </div>
      <div class="menu-item">
        <i class="bi bi-gift"></i>
        <span>Hello</span>
      </div>
      <div class="menu-item">
        <i class="bi bi-info-square"></i>
        <span>About</span>
      </div>
    </div>
  </div>
</template>

<style lang="scss" scoped>
$primary: #009688;
$secondary: #4db6ac;
$dark: #004d40;
$accent: #64ffda;
$translucent: rgba(0, 0, 0, 0.7);

#header {
  padding-top: 20px;
  padding-left: 12px;
  height: 64px;
  font-size: large;
  font-weight: bold;
  color: $accent;
  background: $dark;
  white-space: nowrap;
}

#content {
  background: $secondary;
  height: 100vh;
}

.menu-item {
  padding: 16px;
  cursor: pointer;
}

.menu-item:hover {
  color: black;
  background: turquoise;
}
</style>
15 Apr 2022
|
javascript
html5
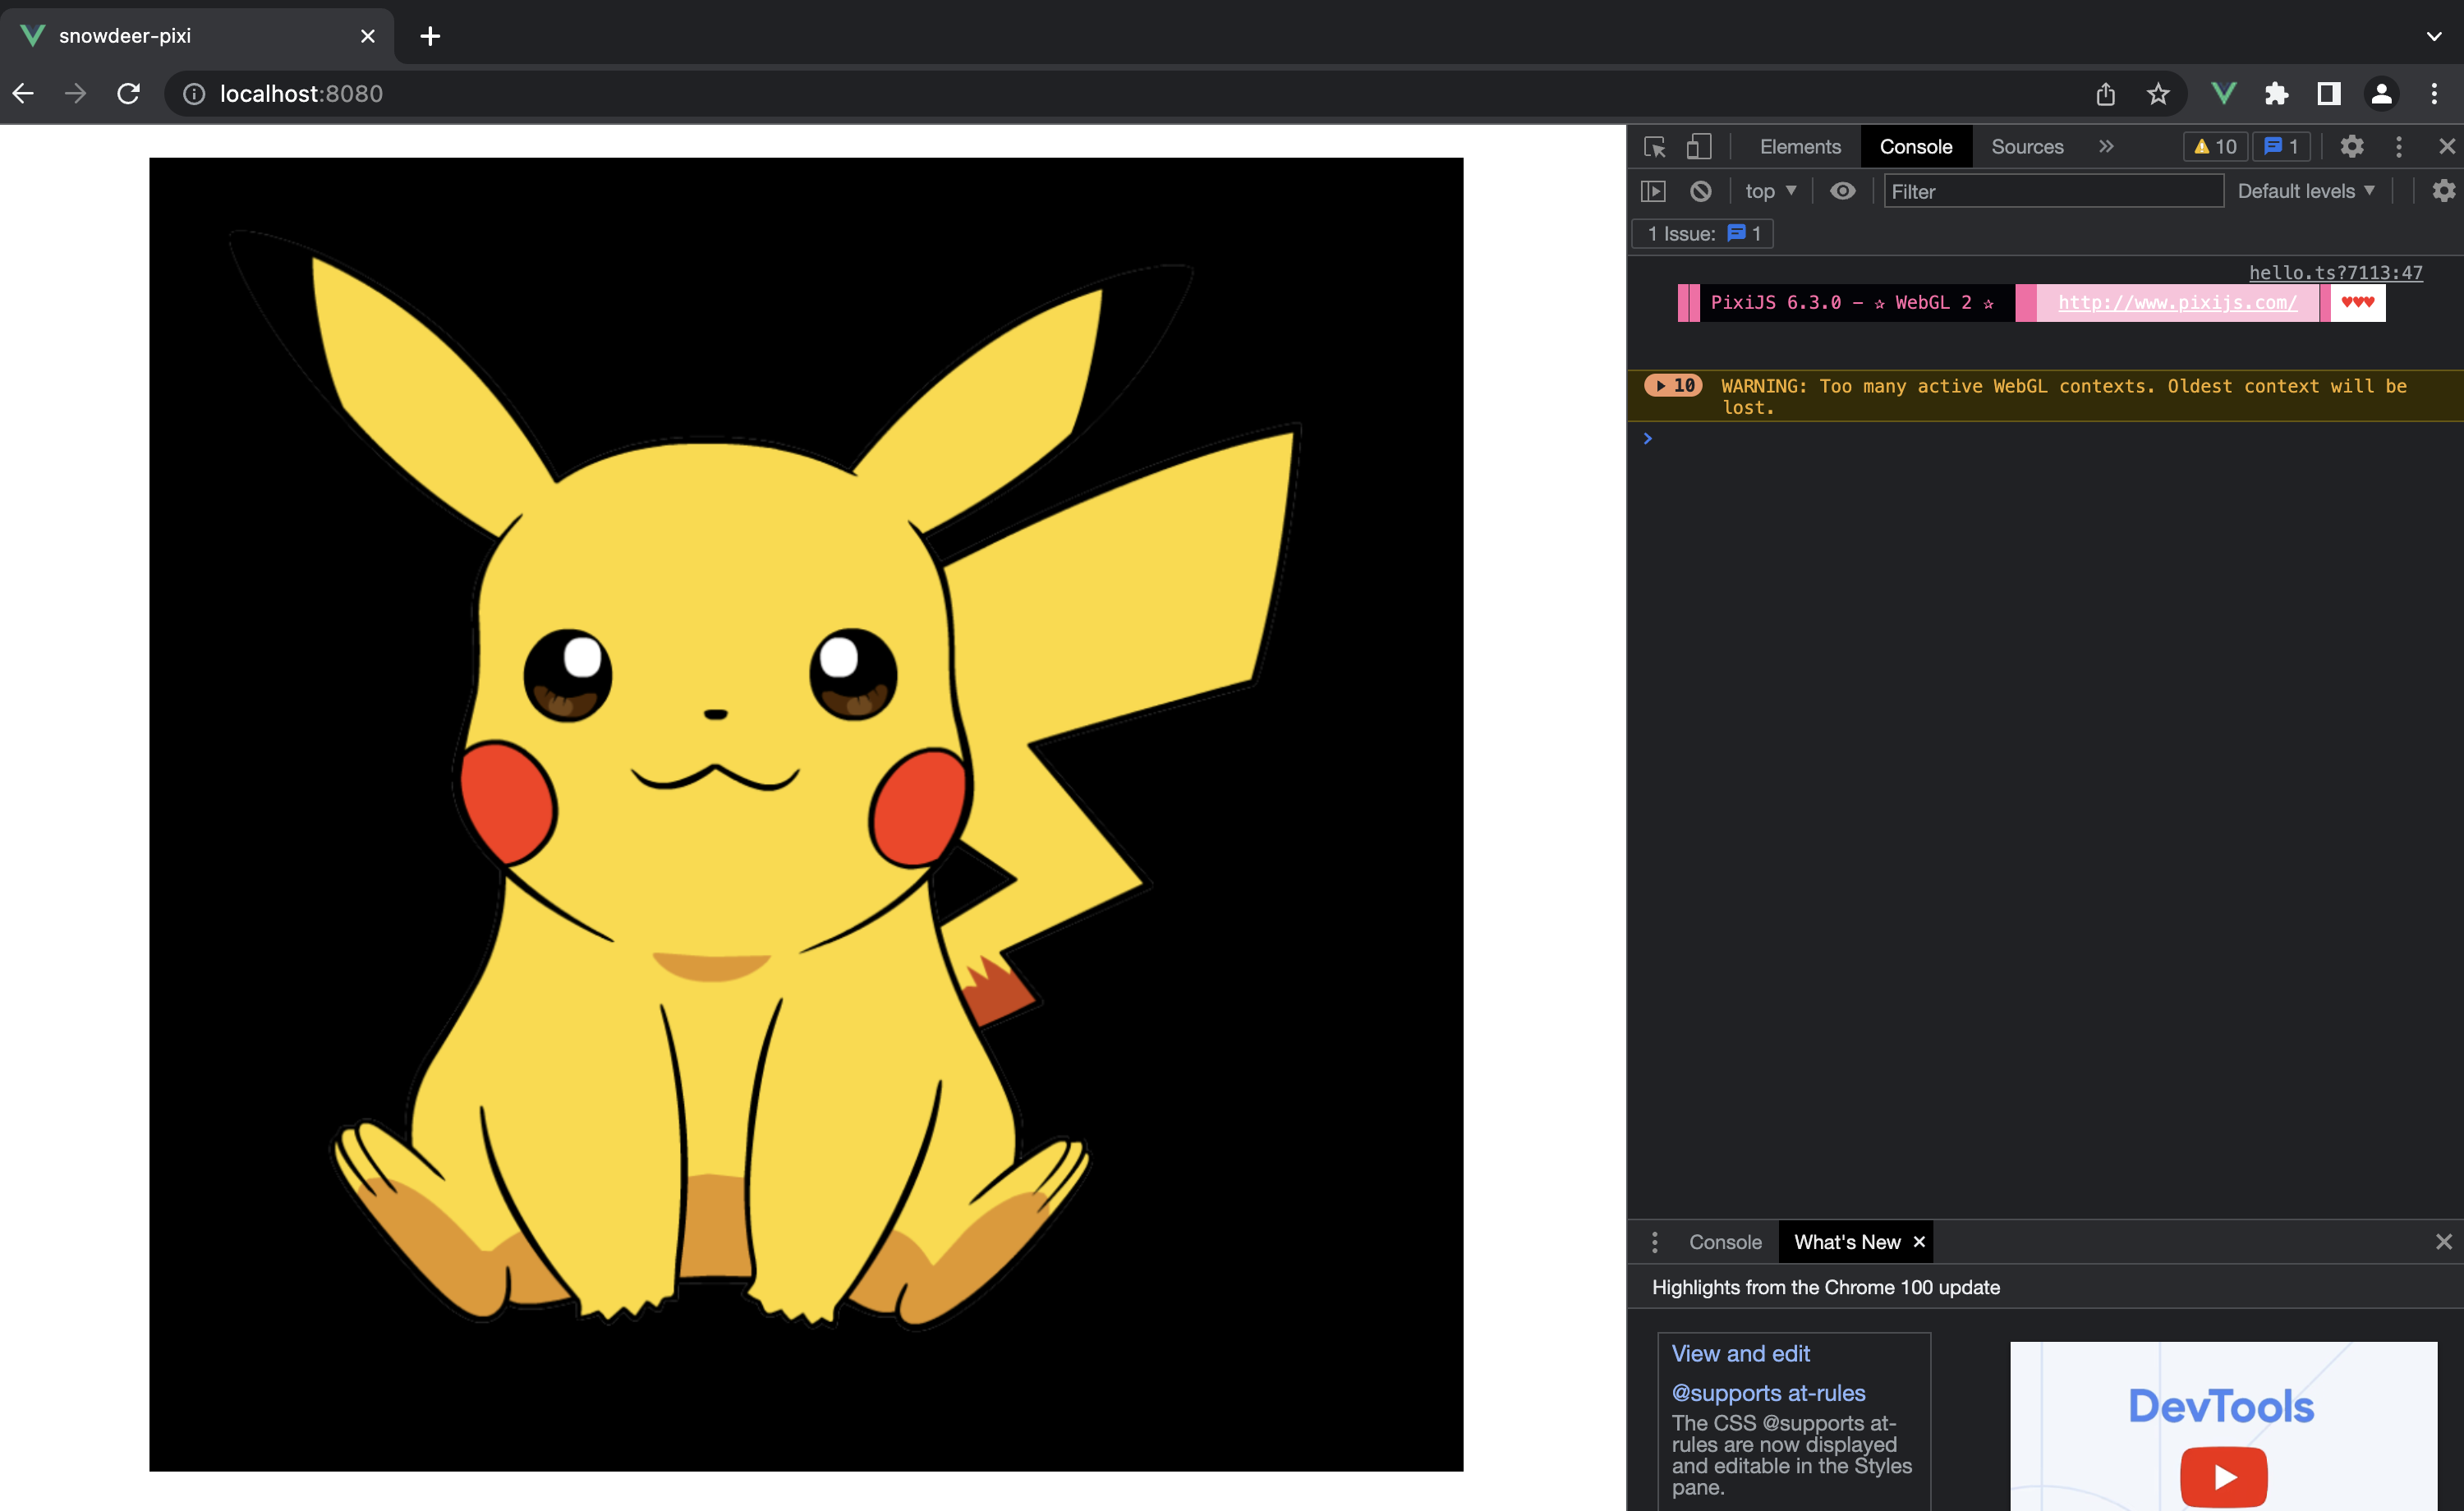
화면에 피카츄 그리기
<template>
  <div id="container">
    <canvas id="pixi-canvas"></canvas>
  </div>
</template>

<script>
import * as PIXI from "pixi.js";
import { onMounted } from "@vue/runtime-core";

export default {
  setup() {
    onMounted(() => {
      const app = createPixiApp();

      createObject(app);
    });

    const createPixiApp = () => {
      var canvas = document.getElementById("pixi-canvas");

      const app = new PIXI.Application({
        width: 1000,
        height: 1000,
        antialias: true,
        backgroundAlpha: true,
        view: canvas,
      });

      return app;
    };

    const createObject = (app) => {
      const pikachu = PIXI.Sprite.from(require("@/assets/pikachu.png"));
      pikachu.x = 50;
      pikachu.y = 50;
      pikachu.width = 832;
      pikachu.height = 846;

      app.stage.addChild(pikachu);
    };
  },
};
</script>

<style>
#container {
  display: block;
  background: white;
  padding: 20px;
}

#pixi-canvas {
  width: 800px;
  height: 800px;
}
</style>
사용한 리소스
실행 화면
15 Apr 2022
|
javascript
html5
Vue.js에서 Pixi.js를 사용하는 간단한 예제
Vue.js에서 Pixi.js를 사용하는 방법은 크게 다음과 같은 3가지 방식이 있습니다.
- HTML canvas 요소를 정의하고 그 위에 Pixi를 구동하는 방법
- HTML body 요소에 Pixi를 직접 삽입하는 방법
- HTML div 요소에 Pixi를 직접 삽입하는 방법
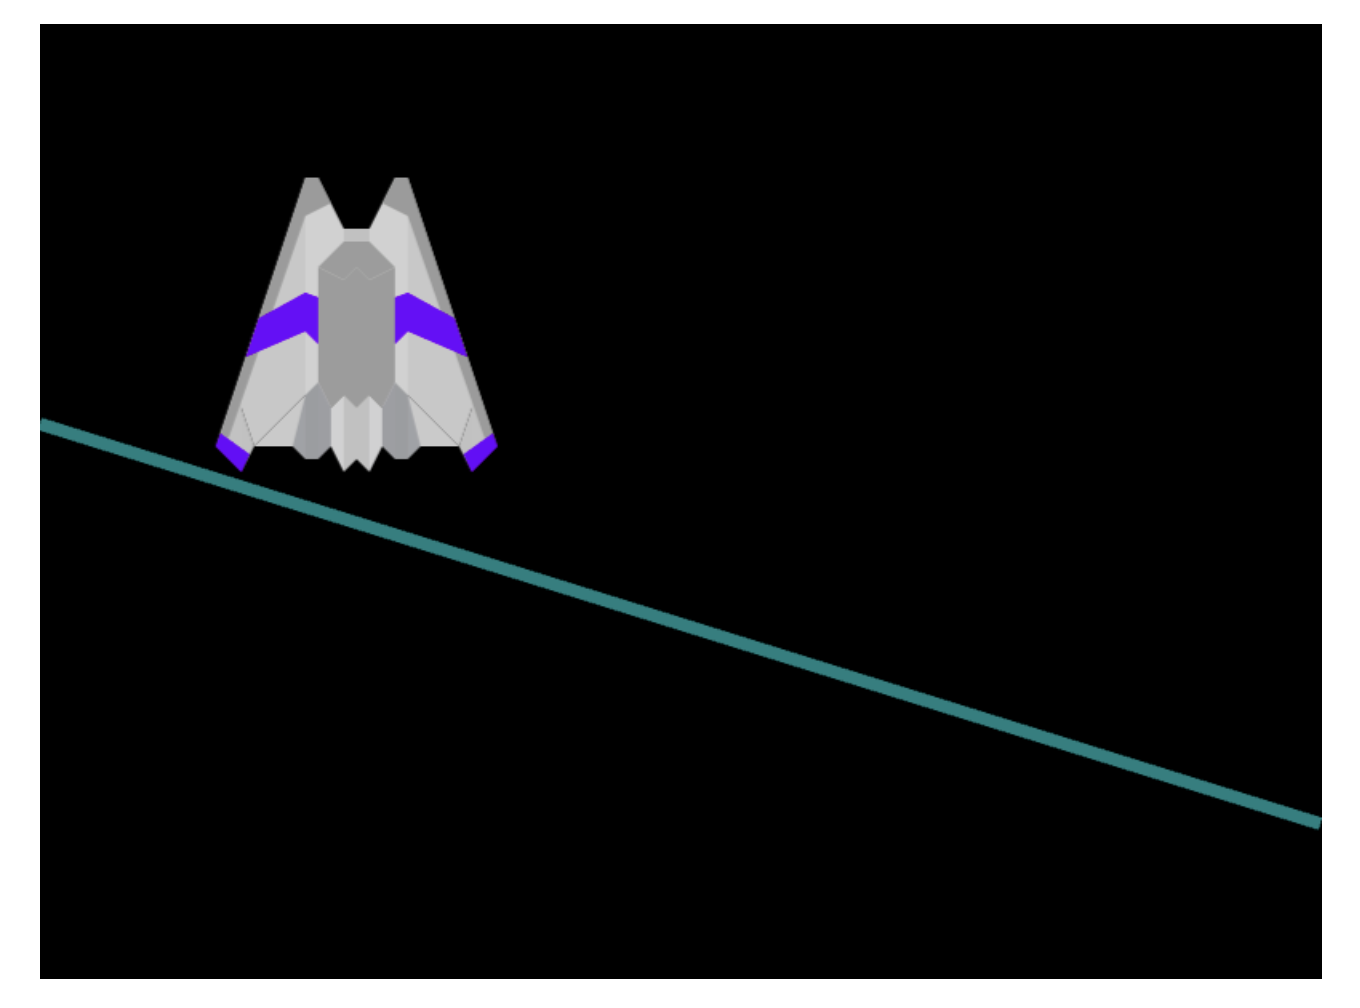
HTML canvas 위에서 Pixi 구동하는 방법
미리 canvas를 html로 정의하고 그 위에 Pixi를 구동하는 방법입니다.
<template>
  <div id="container">
    <canvas id="pixi-canvas"></canvas>
  </div>
</template>

<script>
import * as PIXI from "pixi.js";
import { onMounted } from "@vue/runtime-core";

export default {
  setup() {
    onMounted(() => {
      const app = createPixiApp();

      draw(app);
    });

    const createPixiApp = () => {
      var canvas = document.getElementById("pixi-canvas");
      console.log(`window size(${window.innerWidth}, ${window.innerHeight})`);
      console.log(`canvas size(${canvas.width}, ${canvas.height})`);

      const app = new PIXI.Application({
        width: window.innerWidth,
        height: window.innerHeight,
        antialias: true,
        backgroundAlpha: true,
        view: canvas,
      });

      return app;
    };

    const draw = (app) => {
      const graphics = new PIXI.Graphics();
      graphics.lineStyle(8, 0x008080);
      graphics.moveTo(0, 250);
      graphics.lineTo(800, 500);
      app.stage.addChild(graphics);

      const sprite = PIXI.Sprite.from(require("@/assets/sample.png"));
      app.stage.addChild(sprite);

      let elapsed = 0.0;
      app.ticker.add((delta) => {
        elapsed += delta;
        sprite.x = 100.0 + Math.cos(elapsed / 50.0) * 100.0;
      });
    };

    return {
      draw,
    };
  },
};
</script>

<style scoped>
#container {
  display: block;
  background: white;
  padding: 20px;
}

#pixi-canvas {
  width: 80vw;
  height: 80vh;
}
</style>
실행 화면
Pixi 내에서 Canvas 정의해서 HTML 문서의 Body에 추가하는 방법
<template>
  <div id="pixi-container"></div>
</template>

<script>
import * as PIXI from "pixi.js";
import { onMounted } from "@vue/runtime-core";

export default {
  setup() {
    onMounted(() => {
      const app = createPixiApp();
      document.body.appendChild(app.view);

      draw(app);
    });

    const createPixiApp = () => {
      const app = new PIXI.Application({
        width: 800,
        height: 600,
        backgroundColor: "0x000000",
      });

      return app;
    };

    const draw = (app) => {
      const graphics = new PIXI.Graphics();
      graphics.lineStyle(8, 0x008080);
      graphics.moveTo(0, 250);
      graphics.lineTo(800, 500);
      app.stage.addChild(graphics);

      const sprite = PIXI.Sprite.from(require("@/assets/sample.png"));
      app.stage.addChild(sprite);

      let elapsed = 0.0;
      app.ticker.add((delta) => {
        console.log(`delta: ${delta}`);
        elapsed += delta;
        sprite.x = 100.0 + Math.cos(elapsed / 50.0) * 100.0;
      });
    };

    return {
      draw,
    };
  },
};
</script>
Pixi 내에서 Canvas 정의해서 HTML 문서의 div 요소에 추가하는 방법
<template>
  <div id="pixi-container"></div>
</template>

<script>
import * as PIXI from "pixi.js";
import { onMounted } from "@vue/runtime-core";

export default {
  setup() {
    onMounted(() => {
      const app = createPixiApp();
      var container = document.getElementById("pixi-container");
      container.appendChild(app.view);

      draw(app);
    });

    const createPixiApp = () => {
      const app = new PIXI.Application({
        width: 800,
        height: 600,
        backgroundColor: "0x000000",
      });

      return app;
    };

    const draw = (app) => {
      const graphics = new PIXI.Graphics();
      graphics.lineStyle(8, 0x008080);
      graphics.moveTo(0, 250);
      graphics.lineTo(800, 500);
      app.stage.addChild(graphics);

      const sprite = PIXI.Sprite.from(require("@/assets/sample.png"));
      app.stage.addChild(sprite);

      let elapsed = 0.0;
      app.ticker.add((delta) => {
        console.log(`delta: ${delta}`);
        elapsed += delta;
        sprite.x = 100.0 + Math.cos(elapsed / 50.0) * 100.0;
      });
    };

    return {
      draw,
    };
  },
};
</script>
09 Apr 2022
|
css
Flexible Box
Flexible Box는 CSS3에 처음 소개된 기능으로 반응형 웹을 아주 쉽게 만들 수 있는 기술입니다. 기존의 속성들로는 박스의 배치 순서를 변경하거나 자유롭게 바꾸는 것이 불가능했지만, Flexible Box를 이용하면 아주 쉽고 자유롭게 다양한 화면을 구성할 수 있습니다.
기존에는 float와 같은 요소들이 있었으나 화면의 요소들을 ‘배치’하는 기술이 아니었습니다.
축의 방향
Flexible Box는 주축과 교차축이 있습니다. 축의 방향은 가장 중요한 요소로 방향이 가로인경우는 왼쪽에서 오른쪽으로, 방향이 세로인 경우는 위에서 아래쪽으로 박스들이 배치됩니다.
Flexible Box 작동을 위한 기본 설정
아주 간단한 Flexible Box의 기본 설정은 다음과 같습니다.
#wrap {
  display: -webkit-flex;
  display: flex;
  width: 90%;
  height: 500px;
  margin: 0 auto;
  background: orange;
}
flexible-direction
flex-direction 속성을 이용해서 자식 상자들의 방향을 정할 수 있습니다.
- row : 박스를 왼쪽에서 오른쪽으로 배치
- row-reverse
- column : 박스를 위에서 아래로 배치
- column-reverse
#wrap {
  display: -webkit-flex;
  display: flex;
  flex-direction: row;
  ...
}
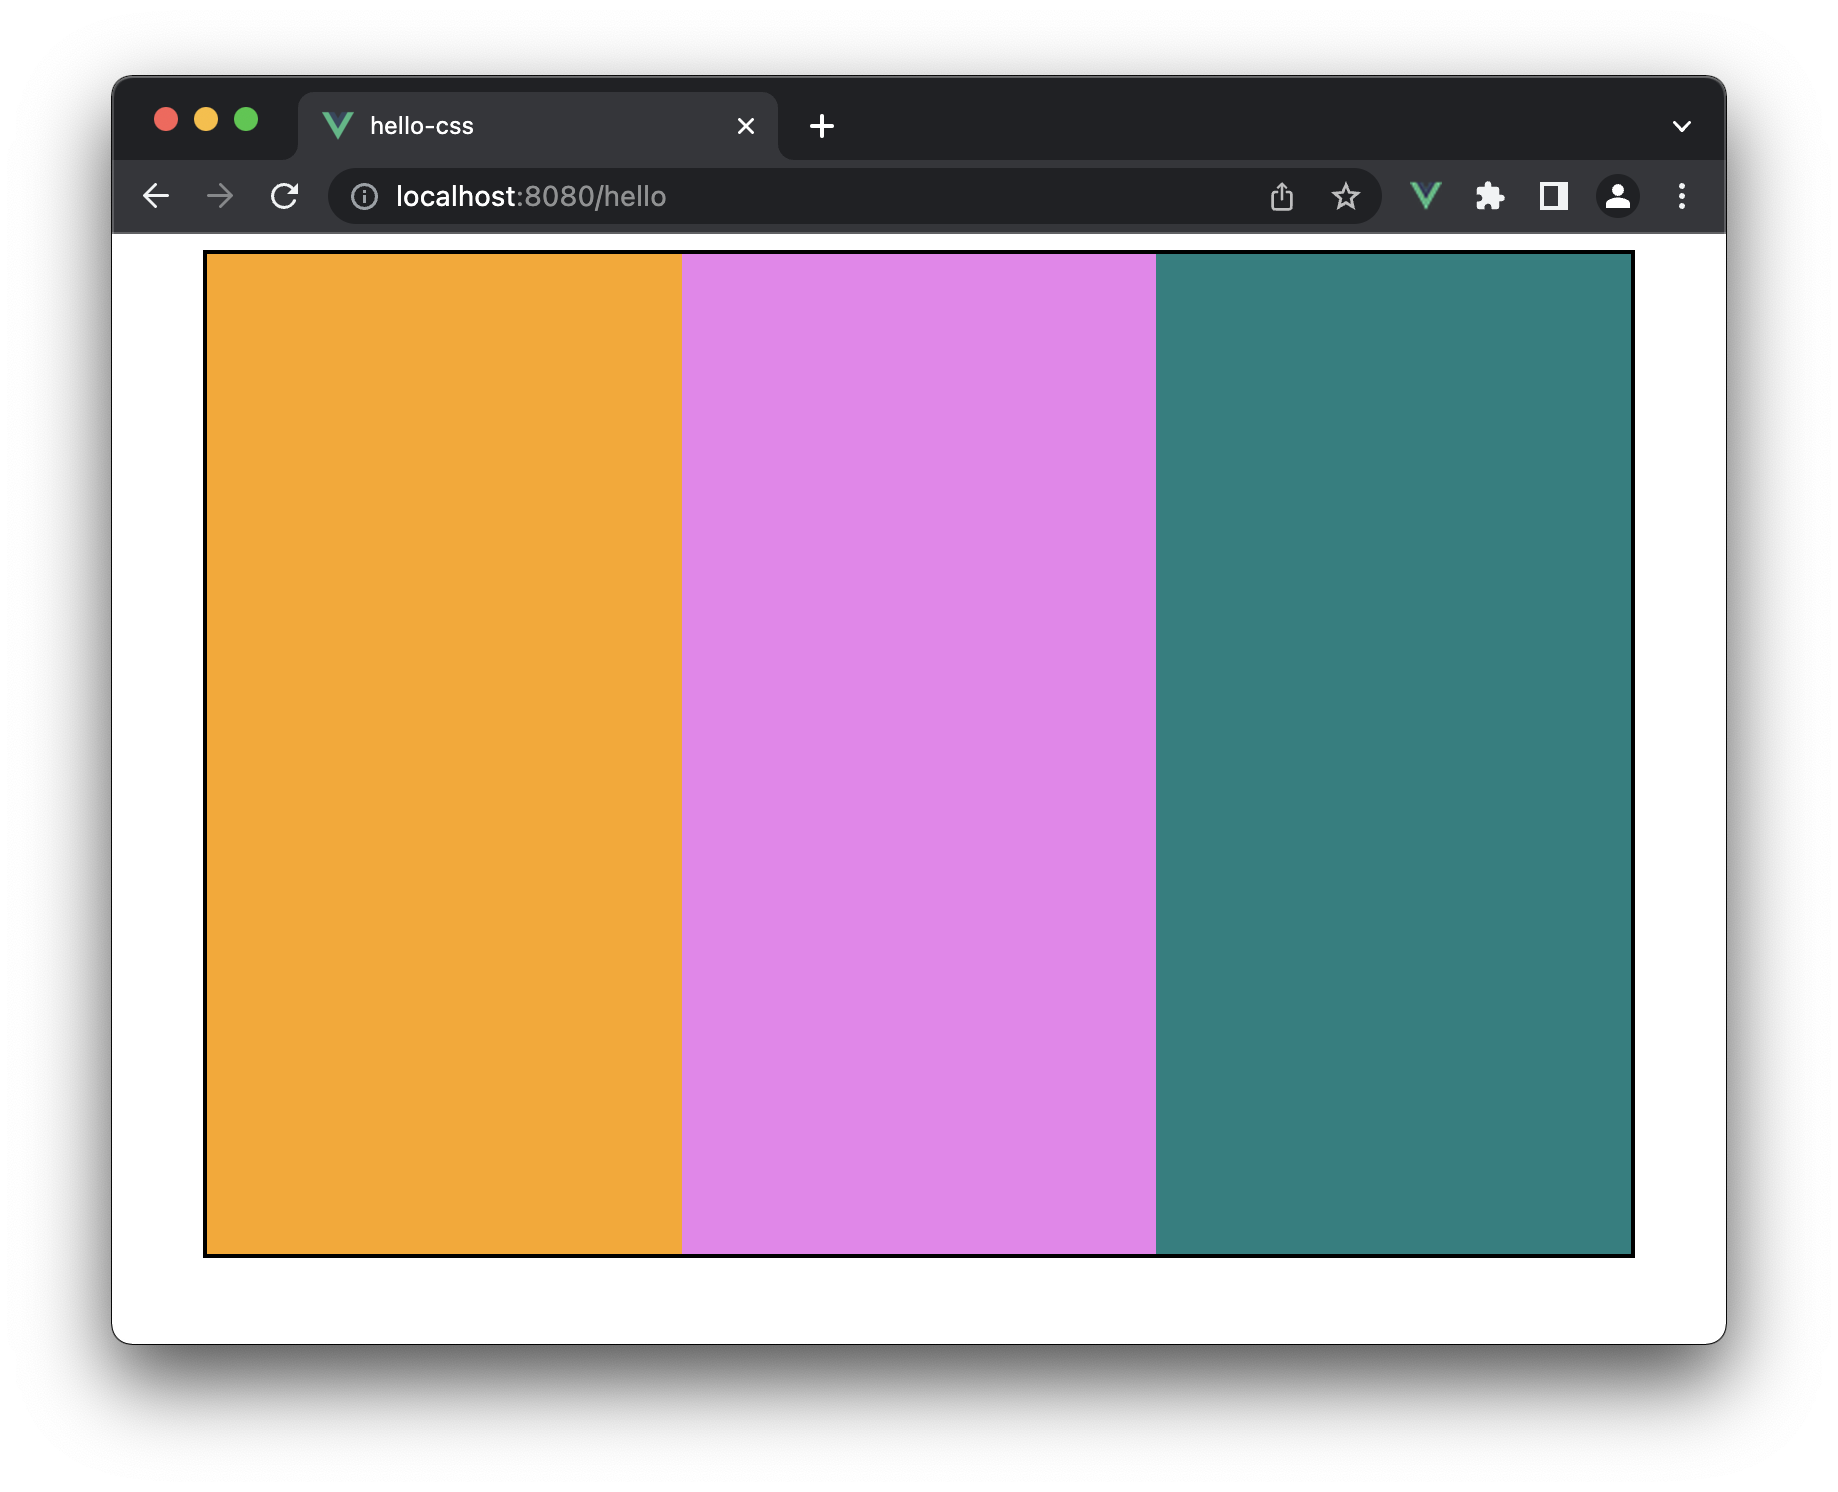
예제
<template>
  <div id="wrap">
    <div></div>
    <div></div>
    <div></div>
  </div>
</template>

<script>
export default {
  name: "App",
};
</script>

<style>
#wrap {
  display: -webkit-flex;
  display: flex;
  flex-direction: row;
  width: 90%;
  height: 500px;
  margin: 0 auto;
  background: white;
  border: 2px solid black;
}

#wrap div {
  width: 33.333%;
}

#wrap div:first-child {
  background: orange;
}

#wrap div:nth-child(2) {
  background: violet;
}

#wrap div:nth-child(3) {
  background: teal;
}
</style>
아이템을 여러 줄로 배치하기
기본적으로 Flexible Box 내의 자식 박스들은 한 줄로만 배치됩니다.
만약 여러 줄로 배치하고 싶은 경우에는 flex-wrap 속성을 넣어줘야 합니다. 사용해야 합니다.
- nowrap(기본값) : 박스를 한 줄로 배치
- wrap : 박스를 여러 줄로 배치
- wrap-reverse
flex-flow
flex-flow를 이용해서 flex-direction과 flex-wrap을 한 번에 설정할 수도 있습니다.
#wrap {
  display: -webkit-flex;
  display: flex;
  flex-flow: row wrap;
  ...
}
justify-content
주축 방향으로 박스를 정렬하는 명령어입니다.
- flex-start(기본값)
- flex-end
- center
- space-between
- space-around
align-items
교차축 방향으로 박스를 배치할 경우에는 align-items 속성을 이용할 수 있습니다.
- stretch(기본값) : 박스를 확장해서 배치
- flex-start
- flex-end
- center
- baseline : 시작점에 배치되는 자식 박스의 글자 베이스 라인에 맞춰 배치
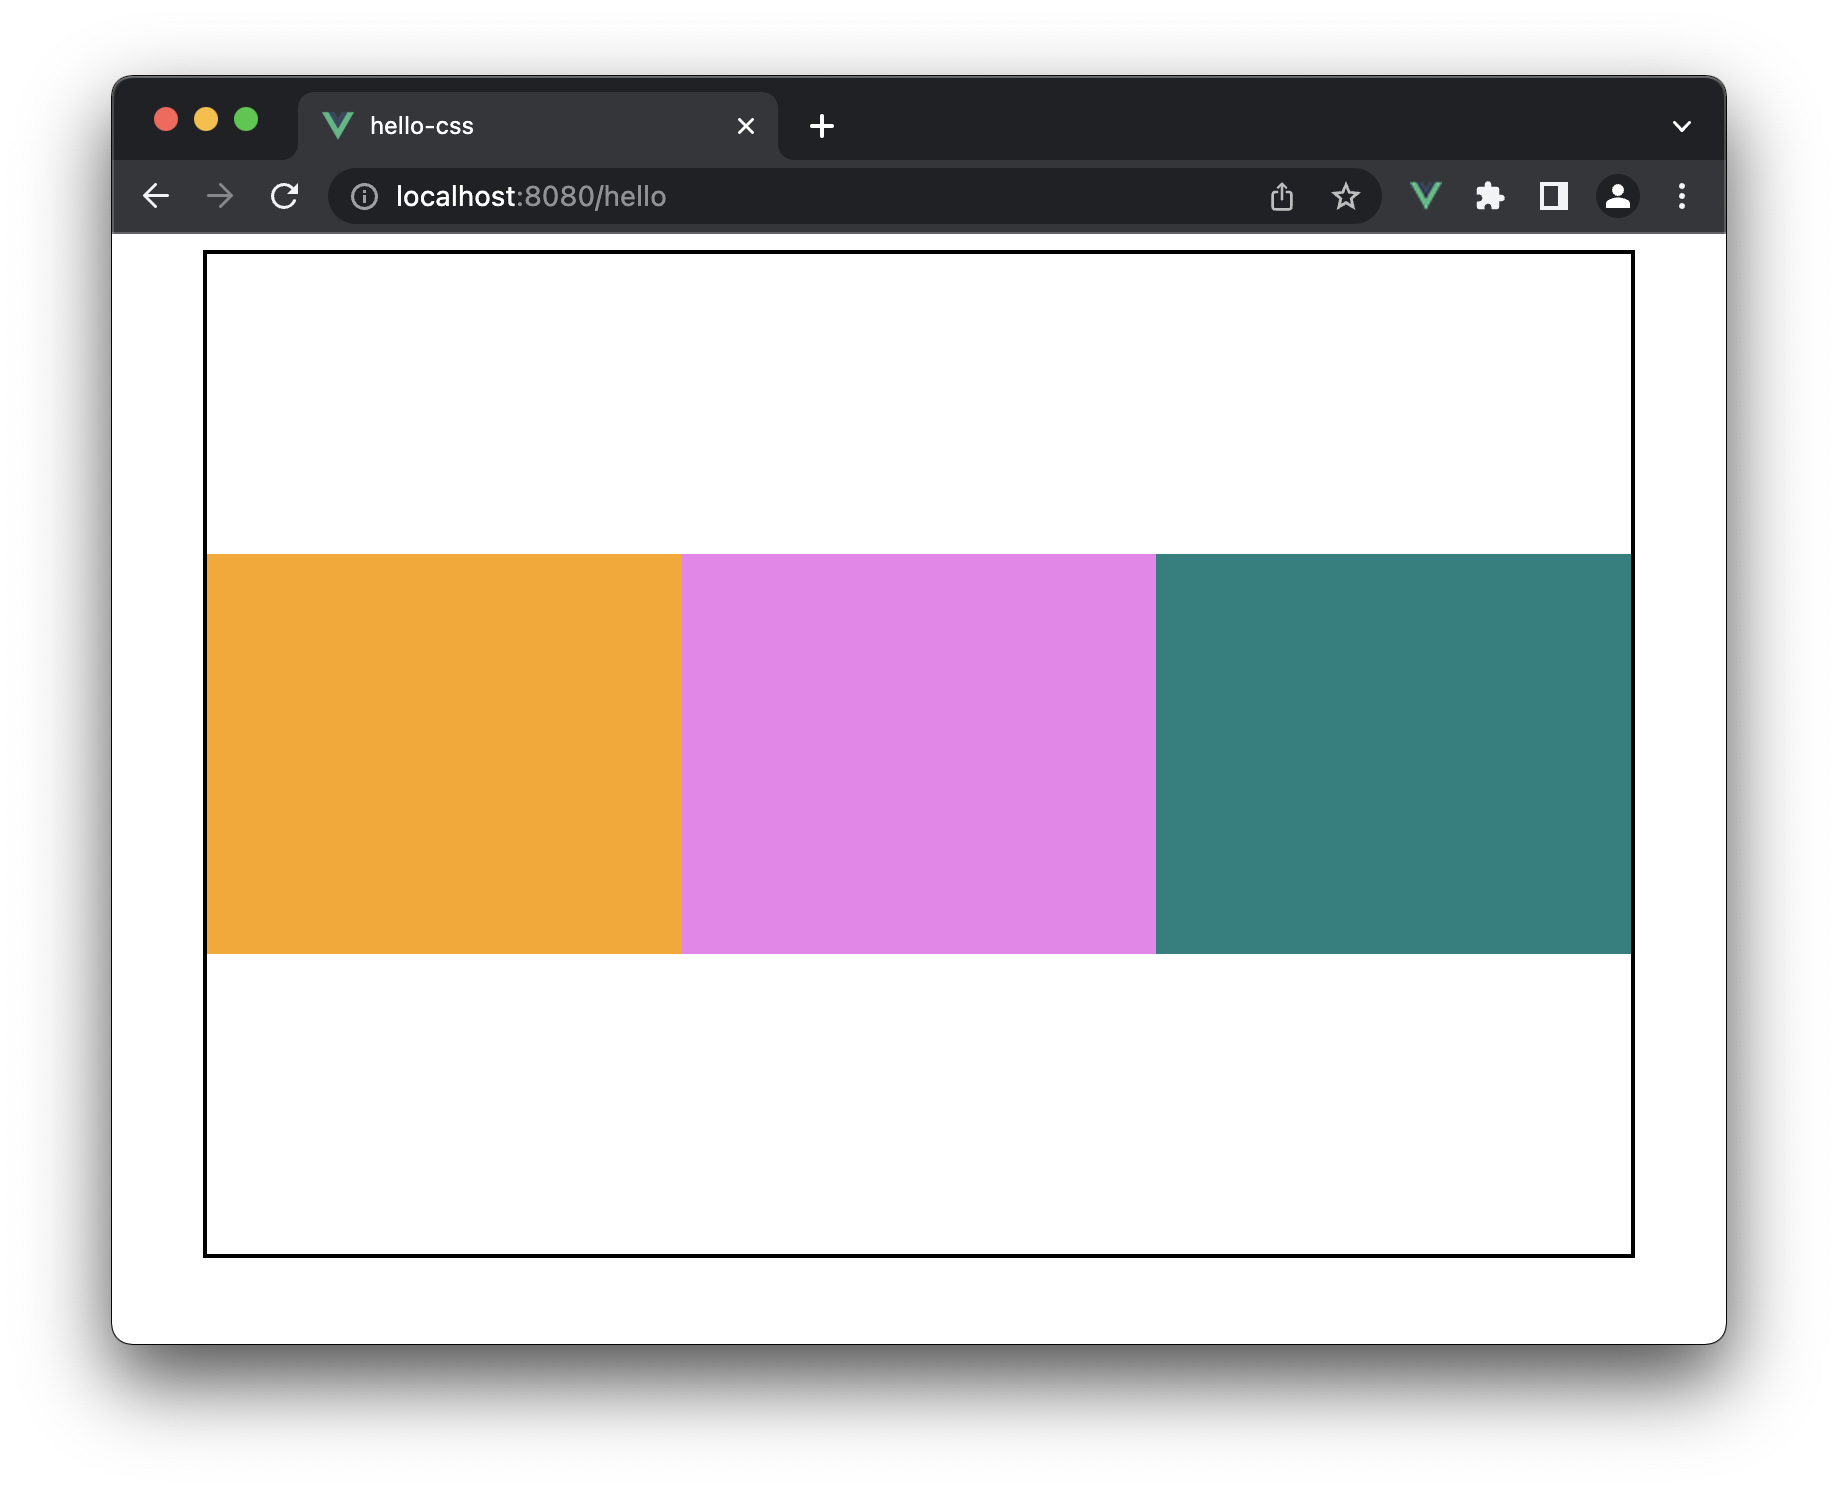
예제
<template>
  <div id="wrap">
    <div></div>
    <div></div>
    <div></div>
  </div>
</template>

<script>
export default {
  name: "App",
};
</script>

<style>
#wrap {
  display: -webkit-flex;
  display: flex;
  flex-flow: row wrap;
  align-items: center;
  width: 90%;
  height: 500px;
  margin: 0 auto;
  background: white;
  border: 2px solid black;
}

#wrap div {
  width: 33.33%;
  height: 200px;
}

#wrap div:first-child {
  background: orange;
}

#wrap div:nth-child(2) {
  background: violet;
}

#wrap div:nth-child(3) {
  background: teal;
}
</style>